What to do
The basic sequence is as follows:
- Decide what classes you want to label
- Decide what images you want to label in this Doodler session (be realistic) Select an image from the files list on the second tab
- Launch the program
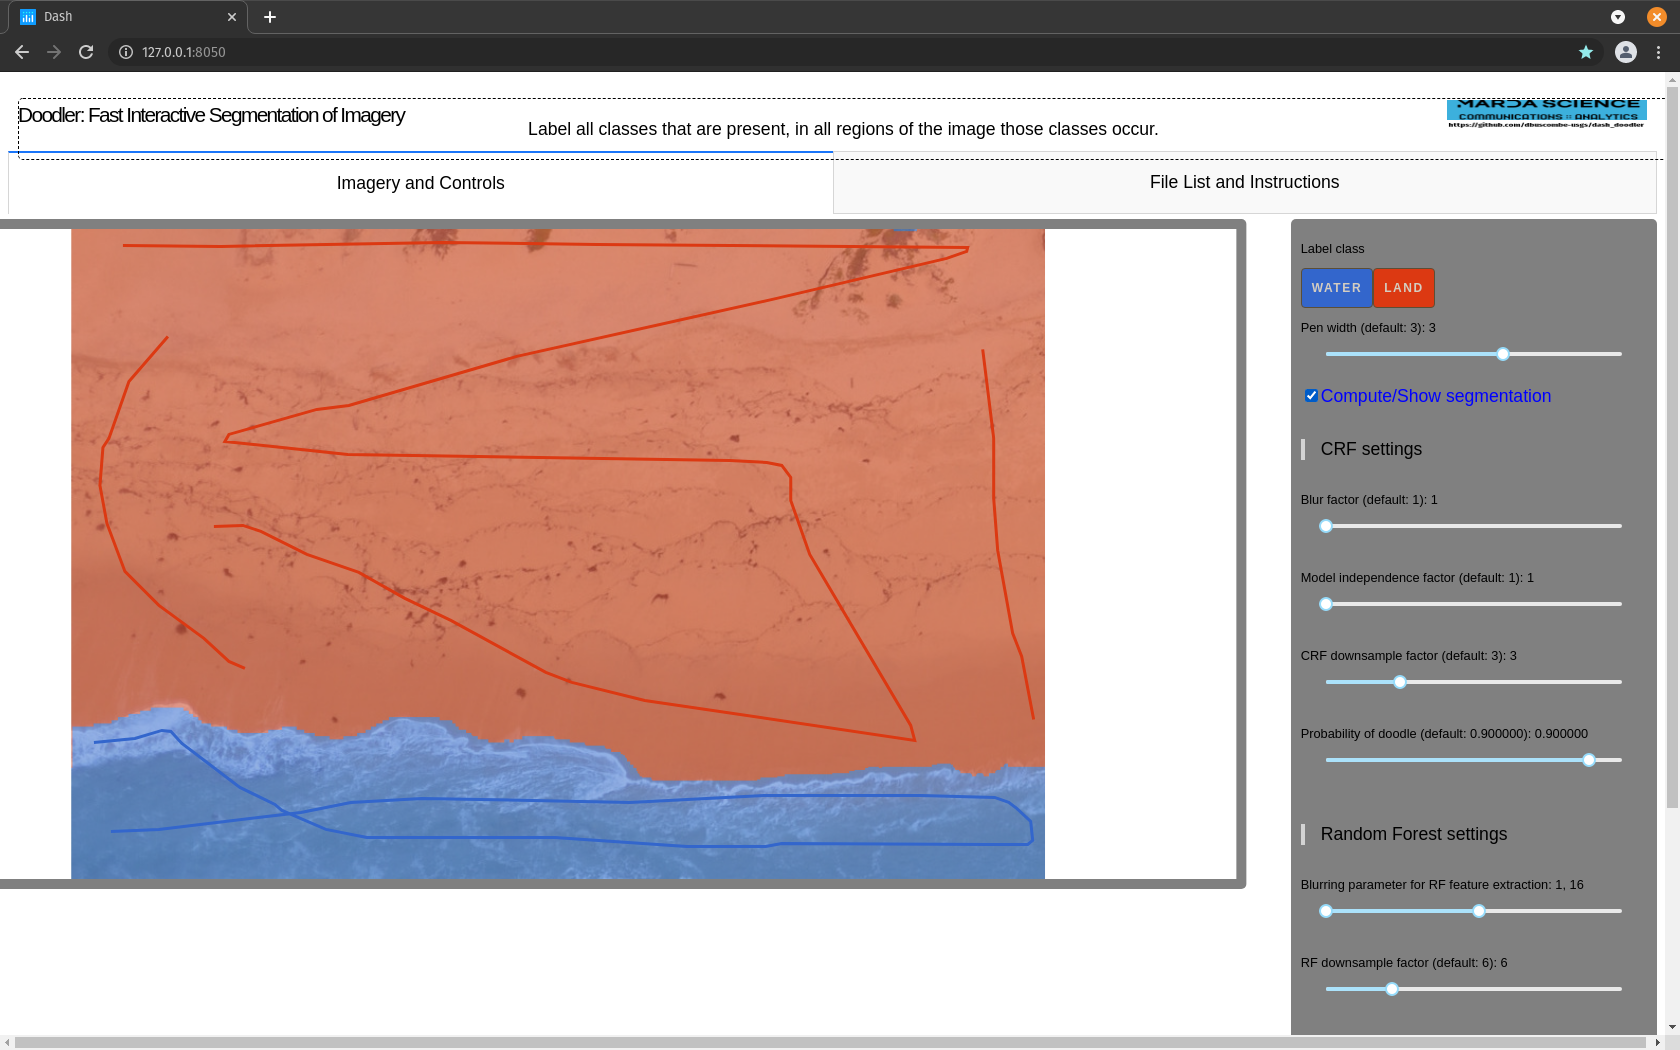
- Use the different color pens to assign labels to a few pixels for each class, in each portion of the scene where that class appears
- Hit 'compute/show segmentation' button and wait for the model to complete
- The segmentation will now be visible as a color image with a semi-transparent overlay
- Refine by first adding or removing doodles
- As a last resort, modify the RF and/or CRF parameters to achieve a better result. Any modifications you make the parameters are saved as the 'default' parameter values for subsequent images
- Move onto the next image. Results from the previous image are saved automatically
- Once an image is completed, it is removed from the list of files, and the image is copied into the local folder called
labeled/. This way you can see what images have already been labeled, and you don't mistakenly label an image twice.
Each of these steps is described in more detail below
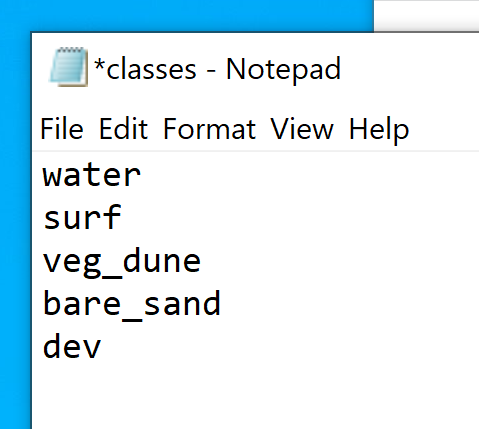
Define classes, make a new classes.txt#
After setting up that environment, create a new classes.txt file that tells the program what classes will be labeled (and what buttons to create). The minimum number of classes is 2. The maximum number of classes allowed by the program is 24.
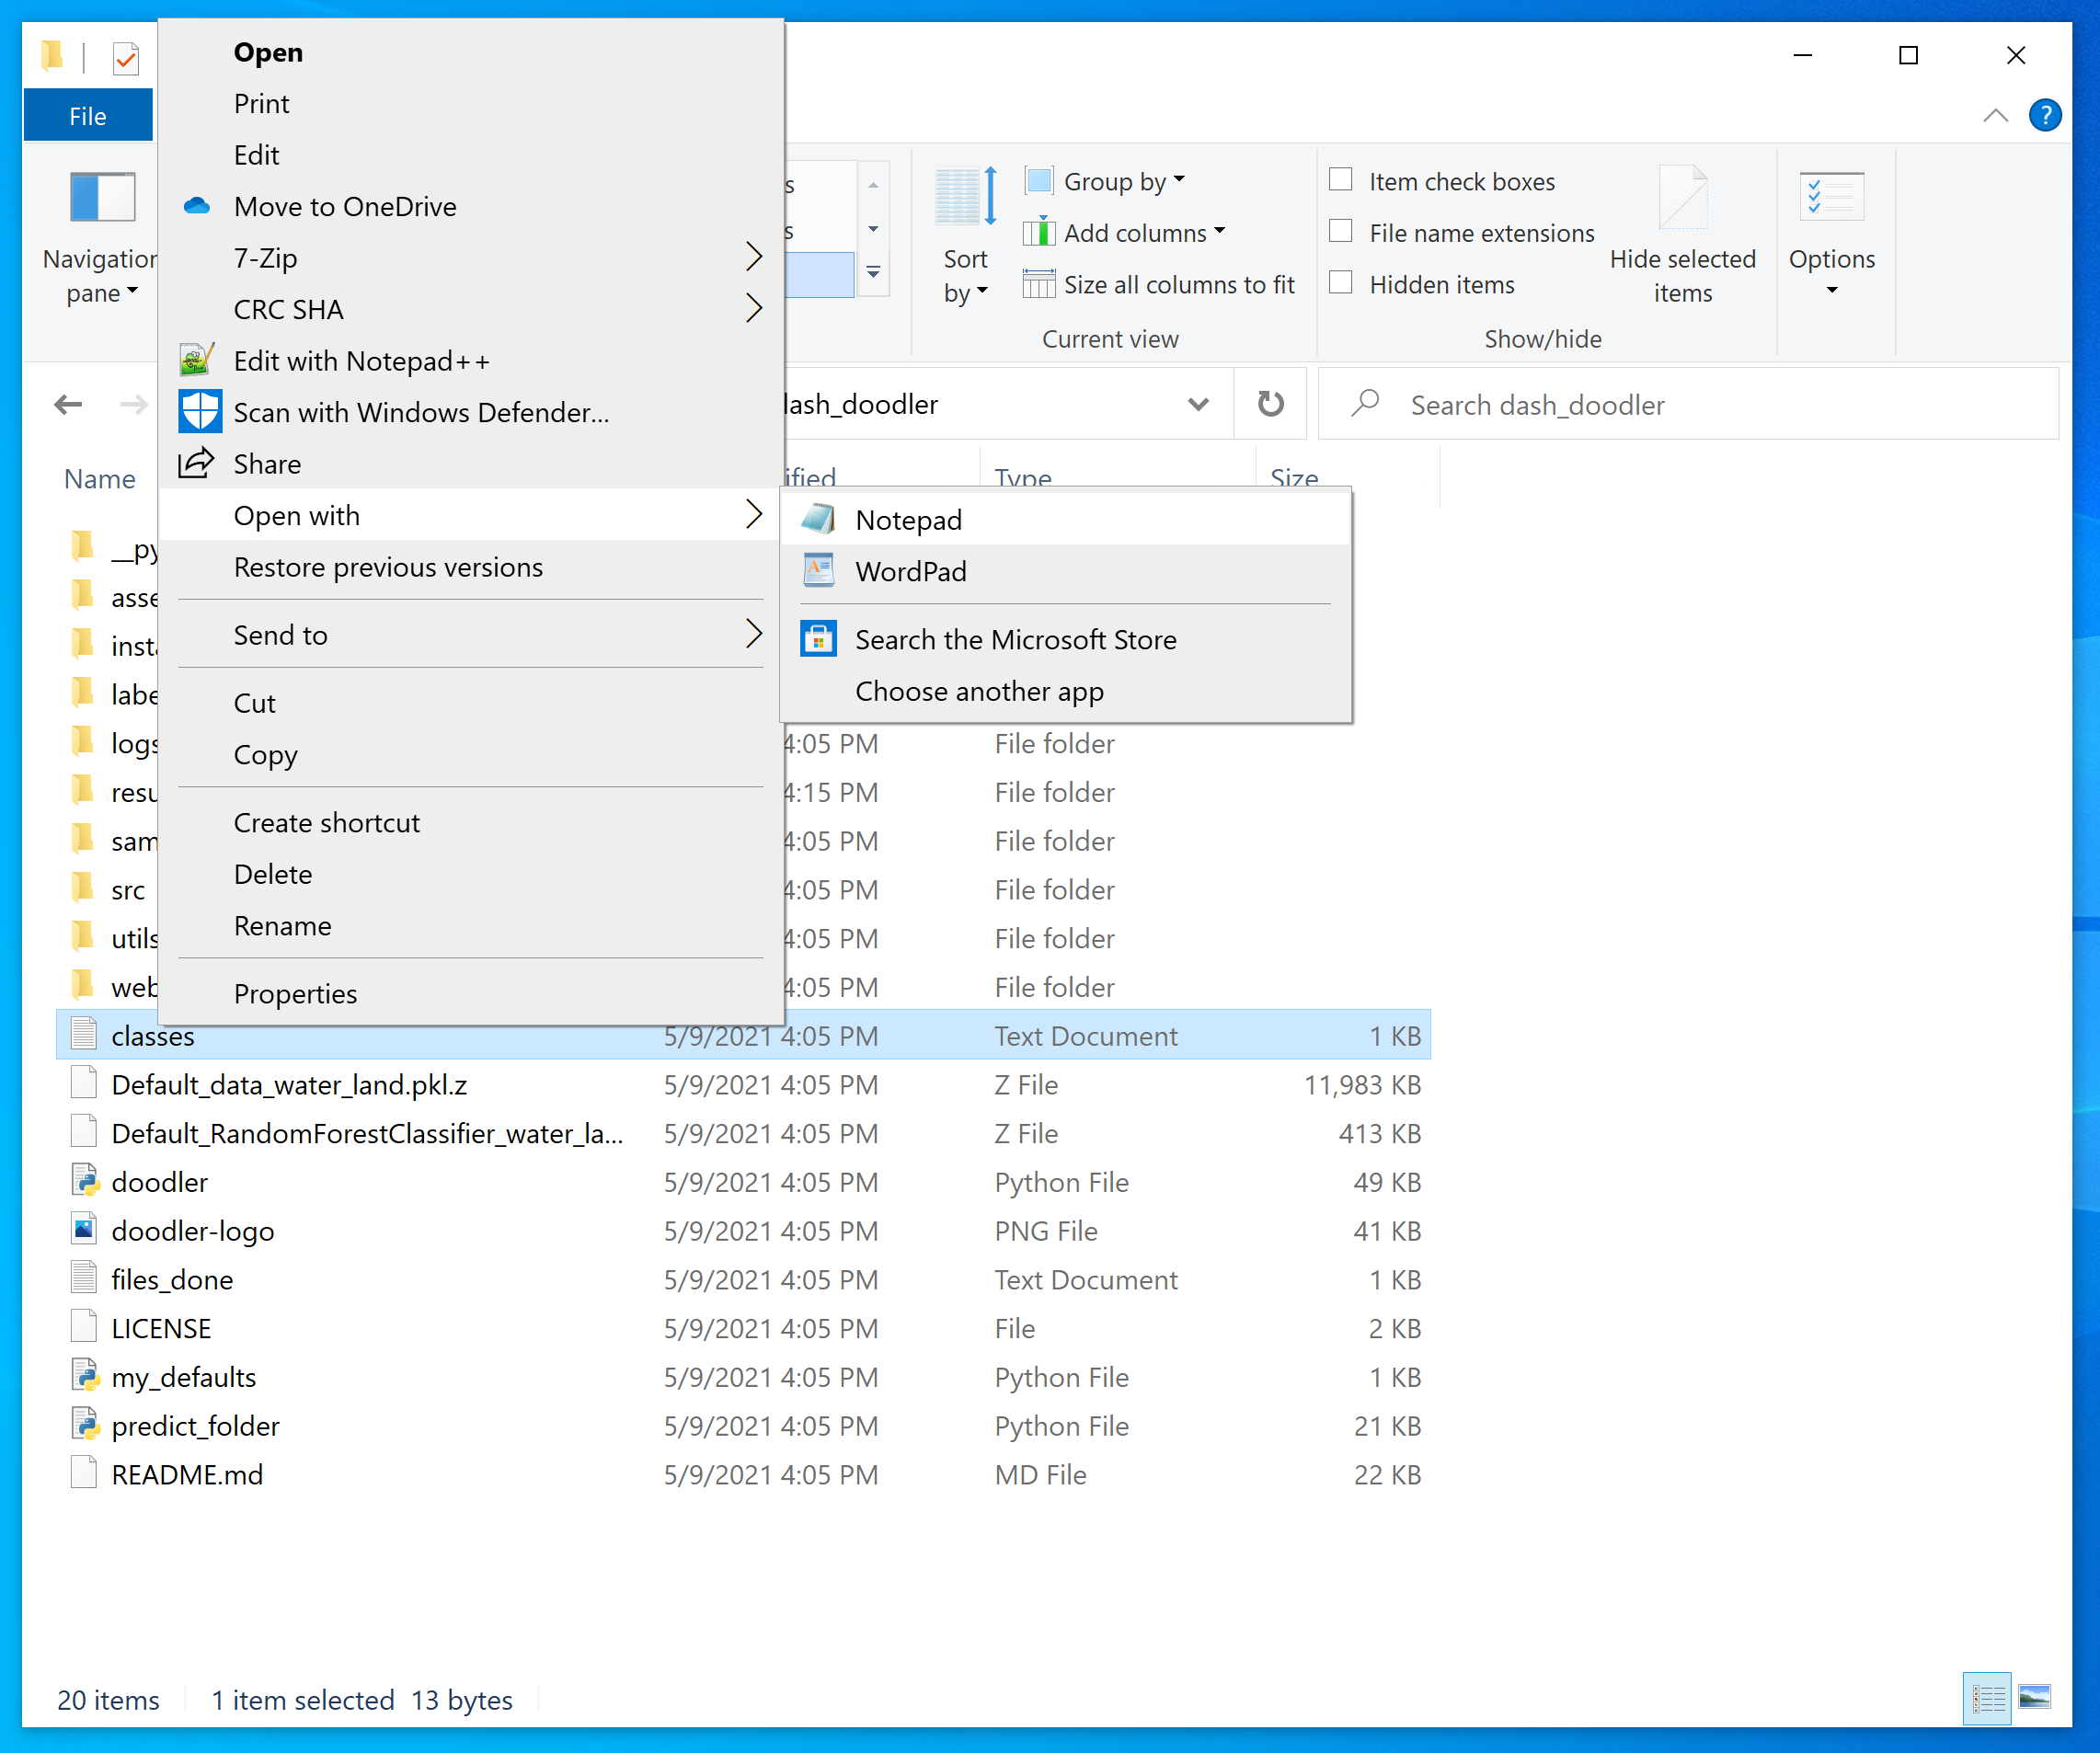
- The file MUST be called
classes.txtand must be in the top-level directory - The file can be created using any text editor (e.g. Notepad, Notepad ++) or IDE (e.g. Atom, VScode, spyder)
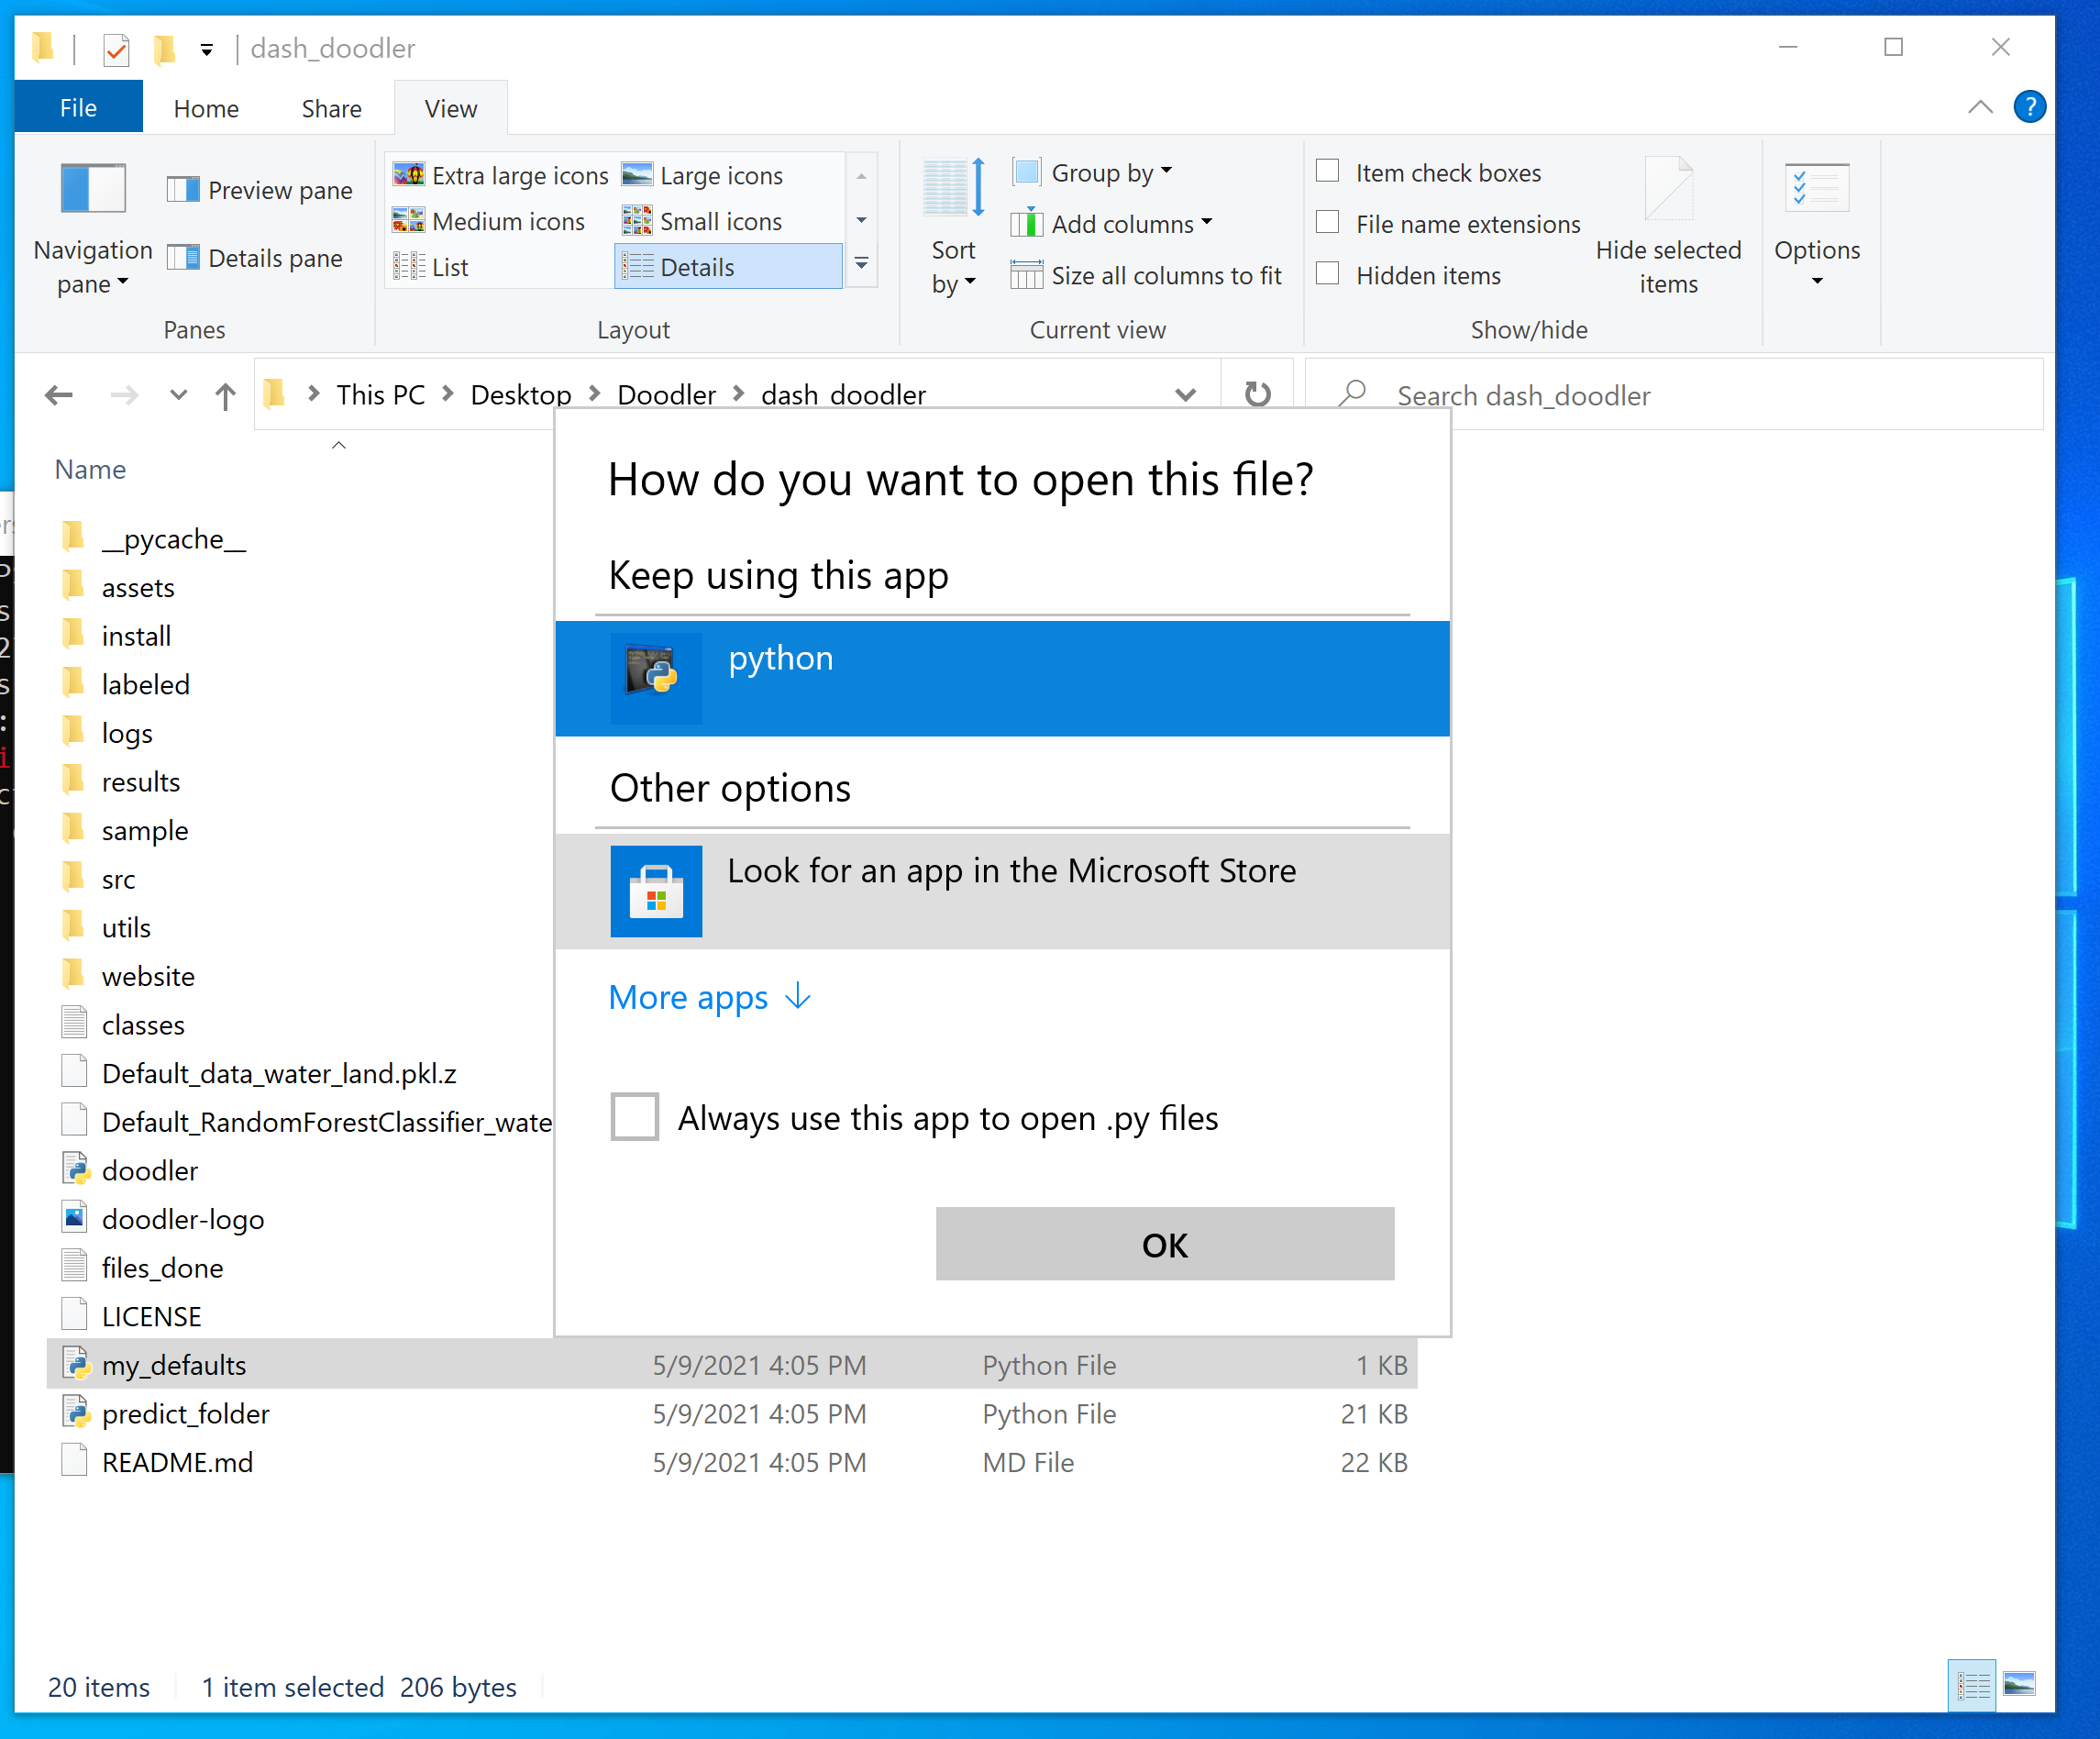
Here is how you would use Notepad to edit on Windows:
Tip
Remember to keep your class names short, so the buttons all fit on the screen! We don't recommend using more than 24 classes
Also, no spaces! Use underscores
Please
no spaces! Use underscores
Move the images you want to label to the folder named assets#
Start small; select a few images that a representative of the larger set of images you wish to eventually segment. Moves those images into the assets/ folder.
Tip
If starting this process for the first time, we recommend trialing Doodler with no more than 10 images to begin with.
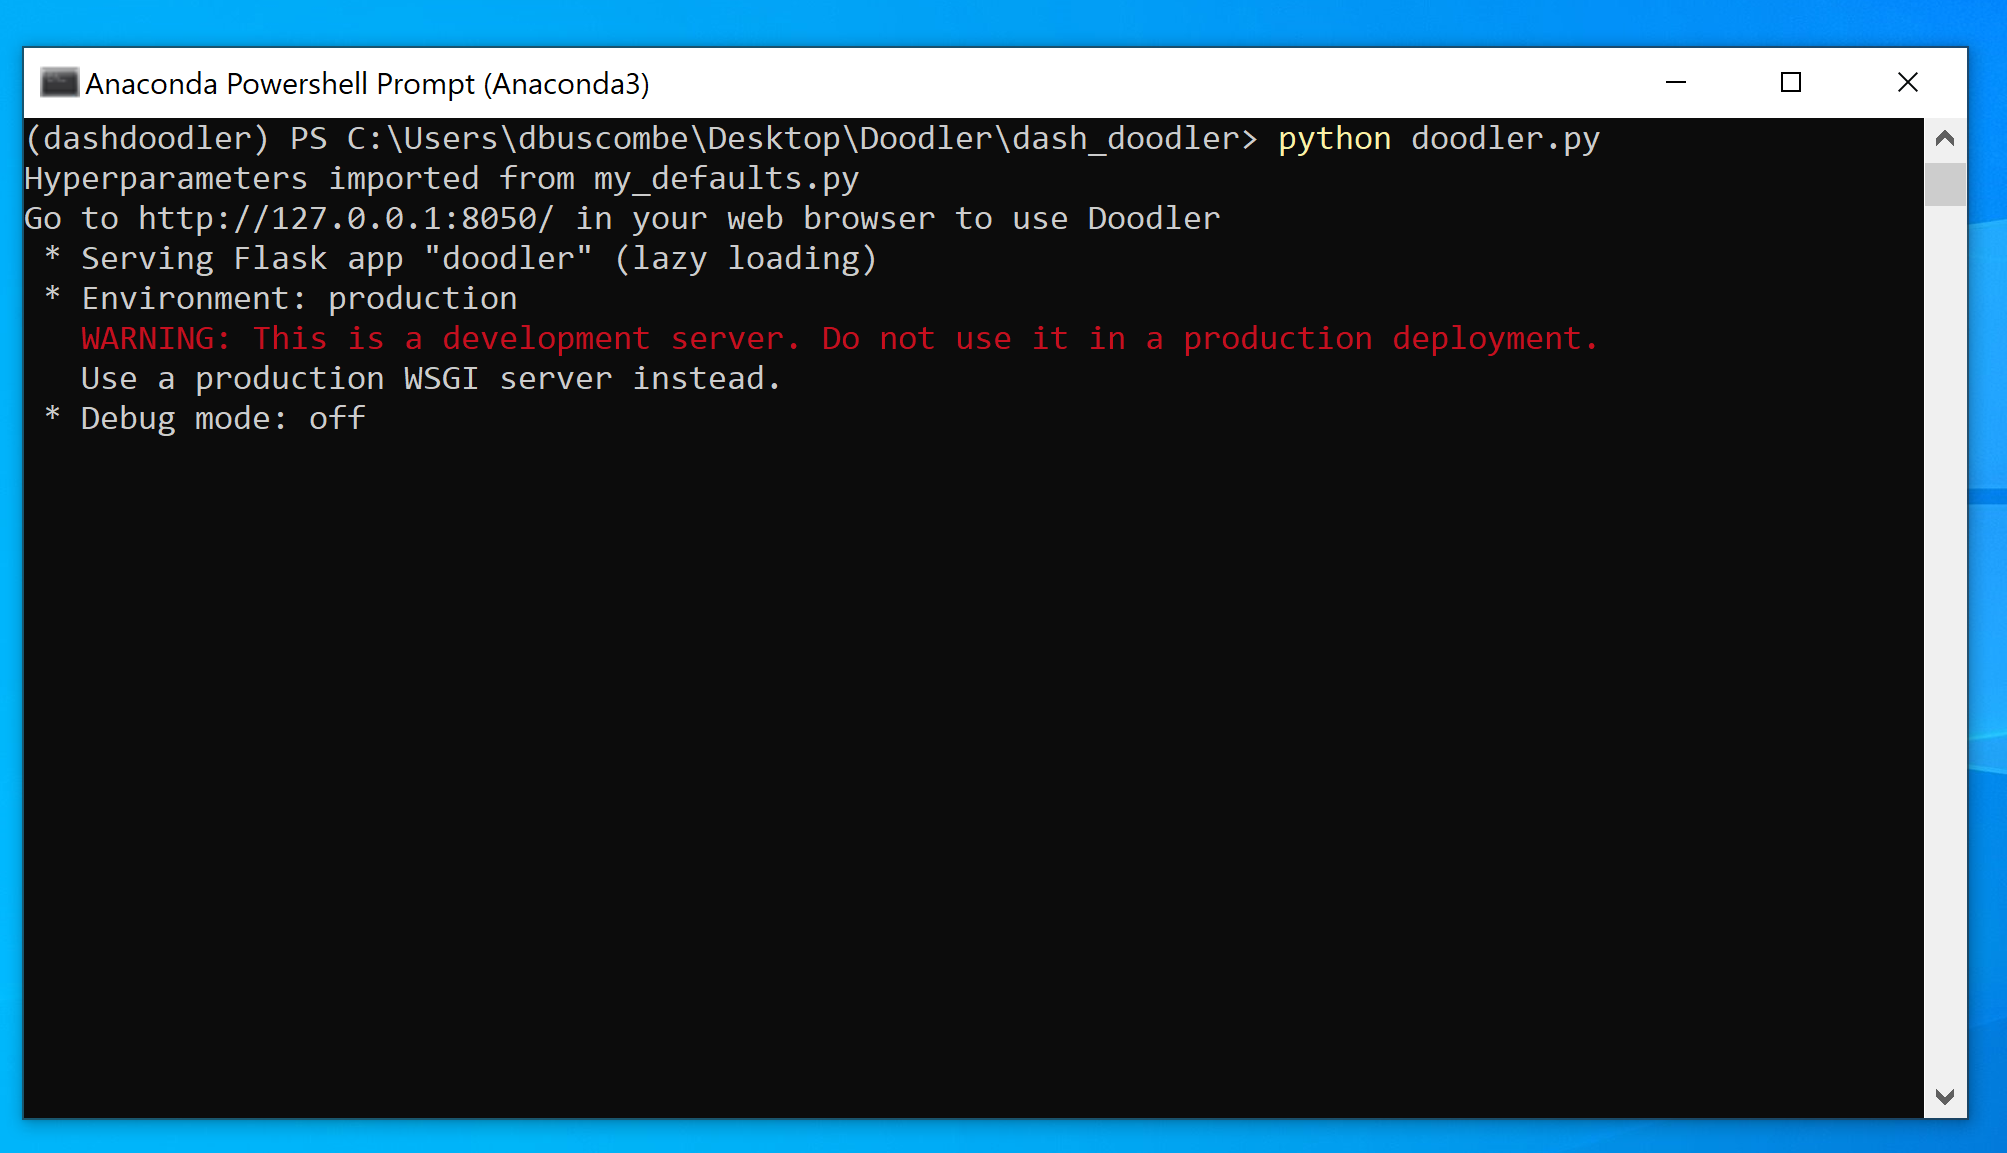
Launch the program#
Open a terminal (shell) and make sure you are in the dash_doodler conda environment you set up
then run the program like this
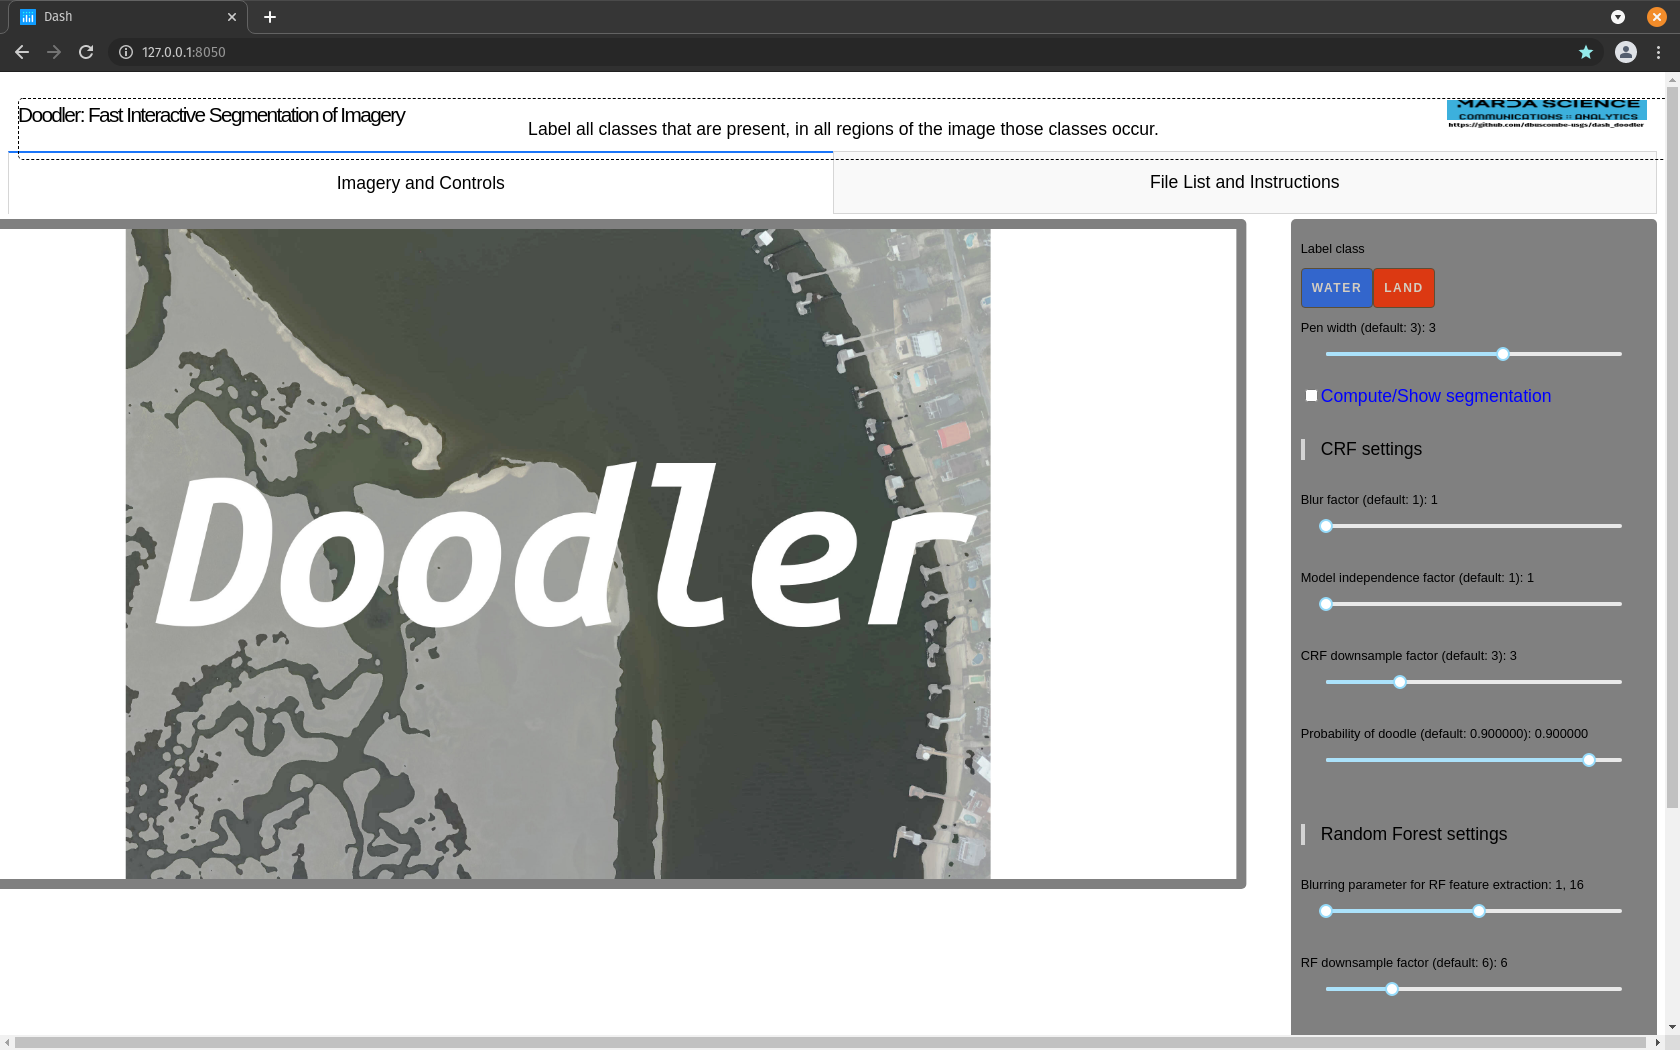
Head to the browser#
Doodler is a web application you can access using any web browser.
An IP address where you can view the app in your browser will be displayed in the terminal. Some browsers will launch automatically, while others you may have to manually type (or copy/paste) the IP address into a browser.Open a browser and go to 127.0.0.1:8050
Tip
http://127.0.0.1 is called 'localhost' and 8050 is the port or socket number being used by Doodler
You may have to hit the refresh button. If, after some time doodling things seem odd or buggy, sometimes a browser refresh will fix those glitches.
Doodler is known to work with Chrome, Firefox, and Edge but will likely work well with any modern browser (not Microsoft Internet Explorer).
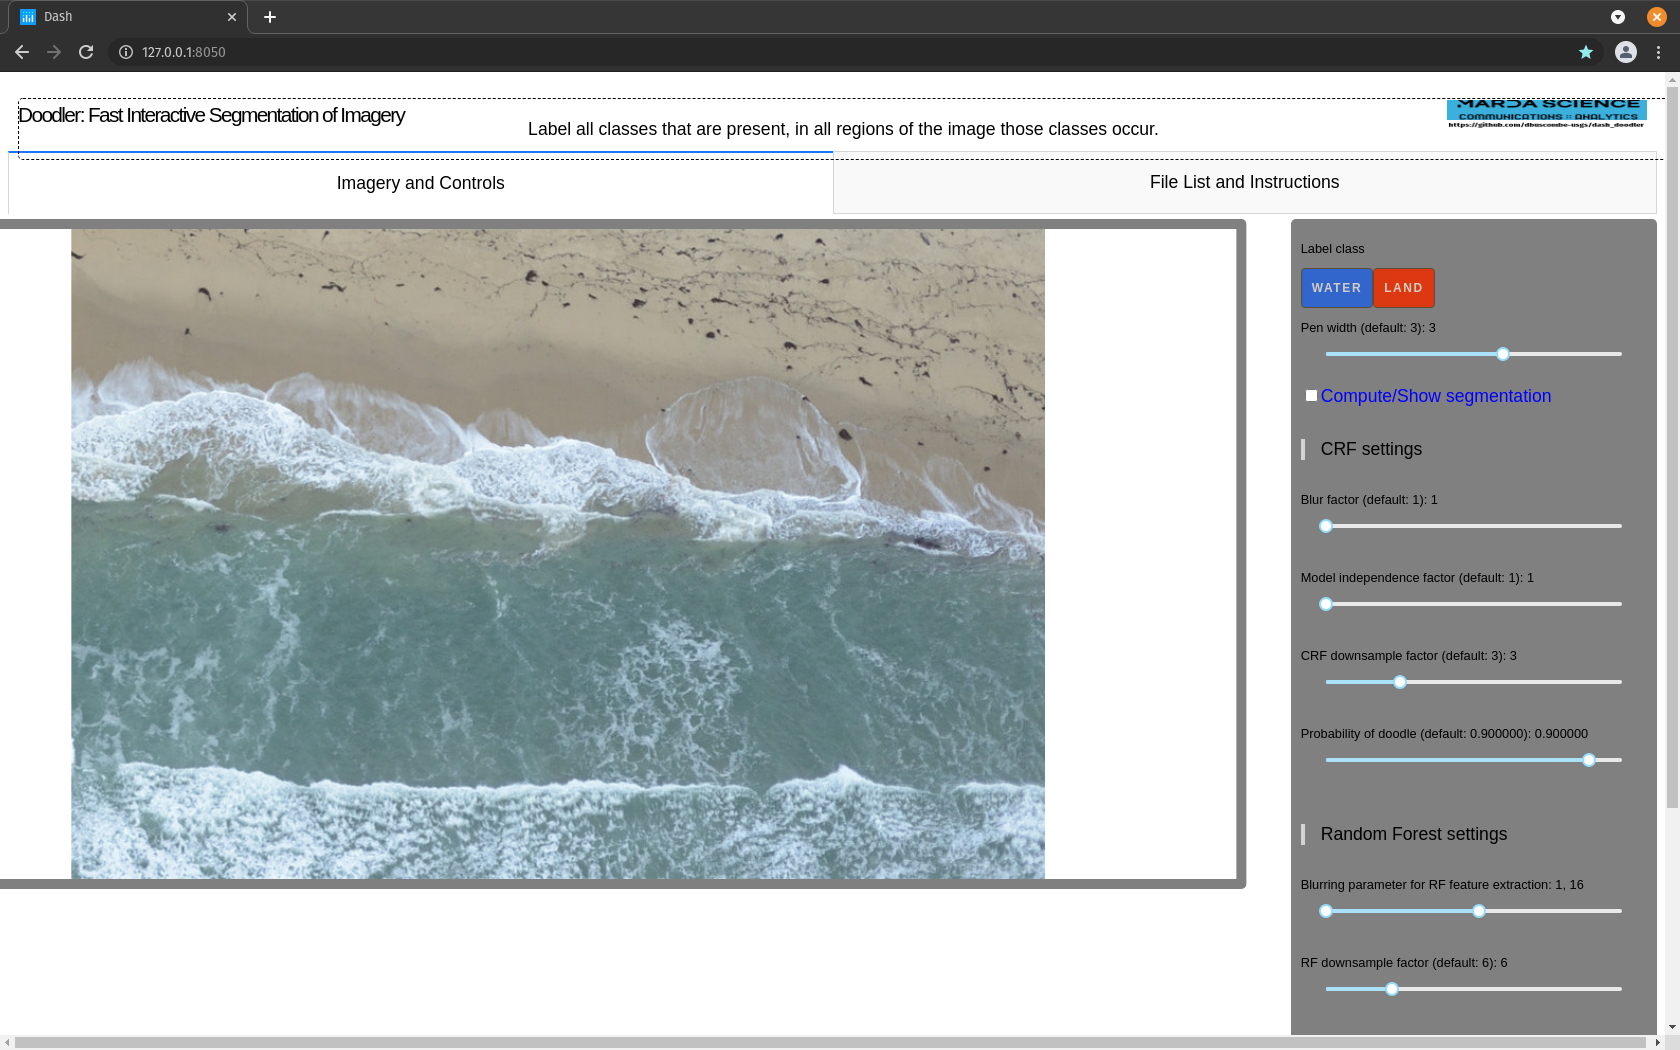
And you should see something like this:
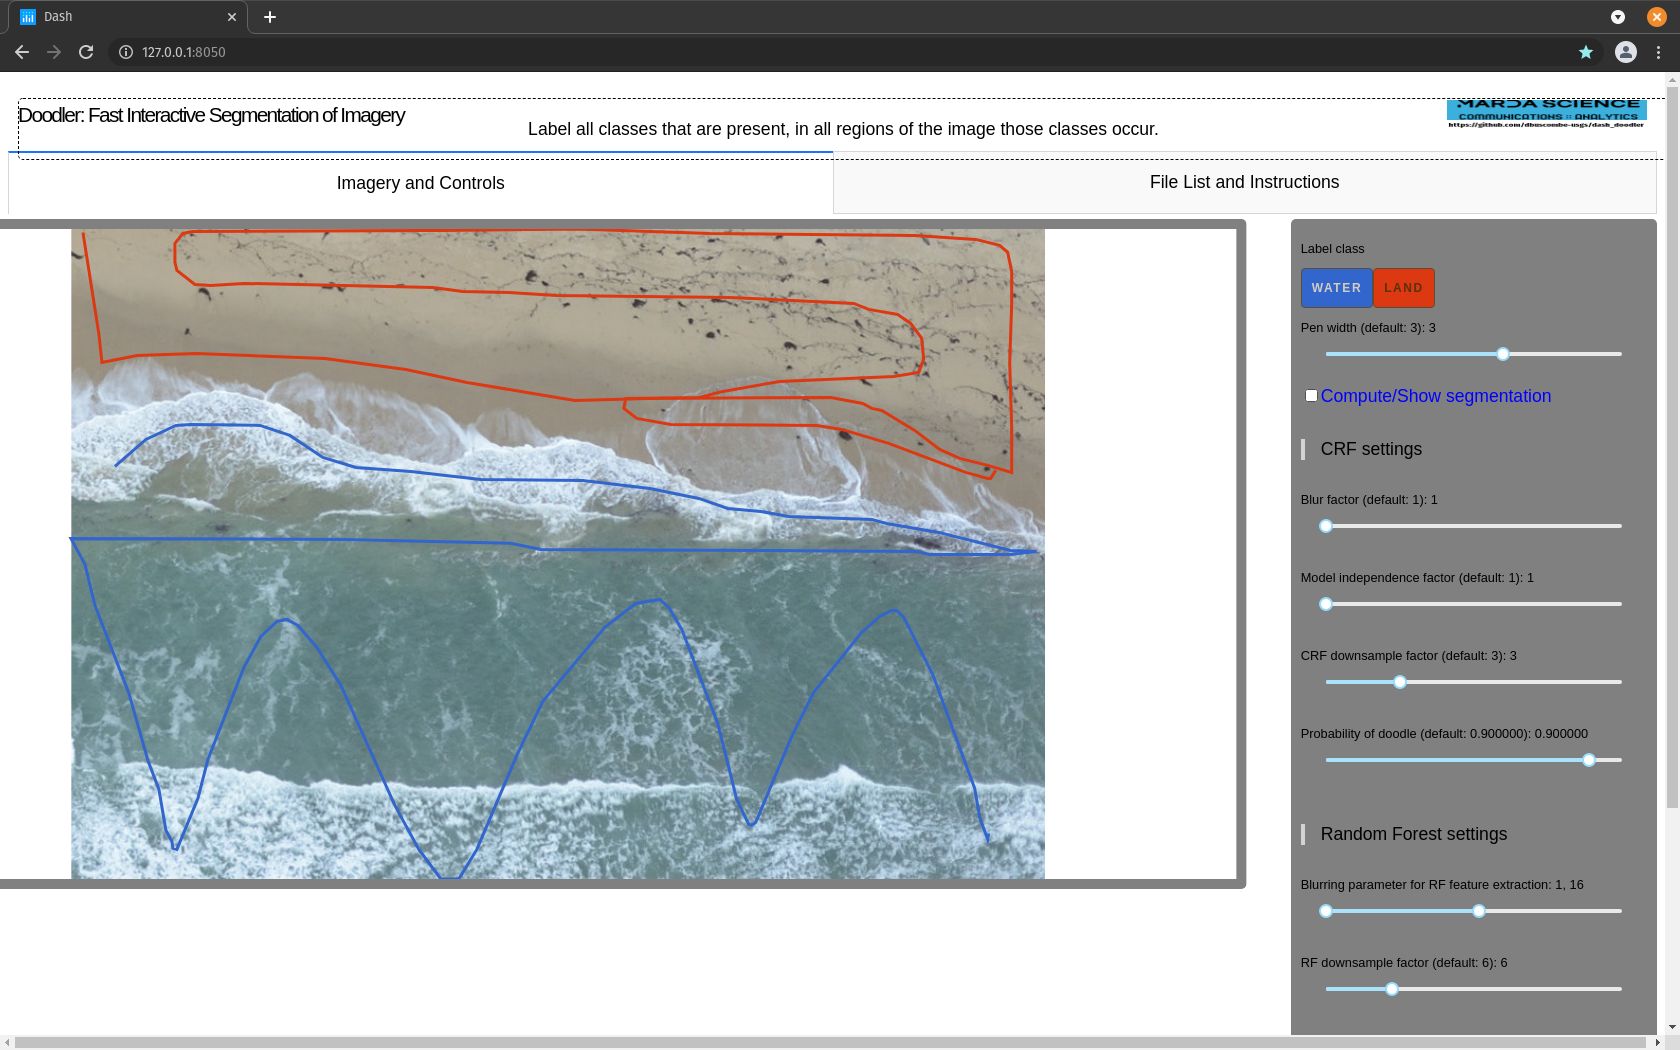
Excellent, in no time you'll be doodling like this:

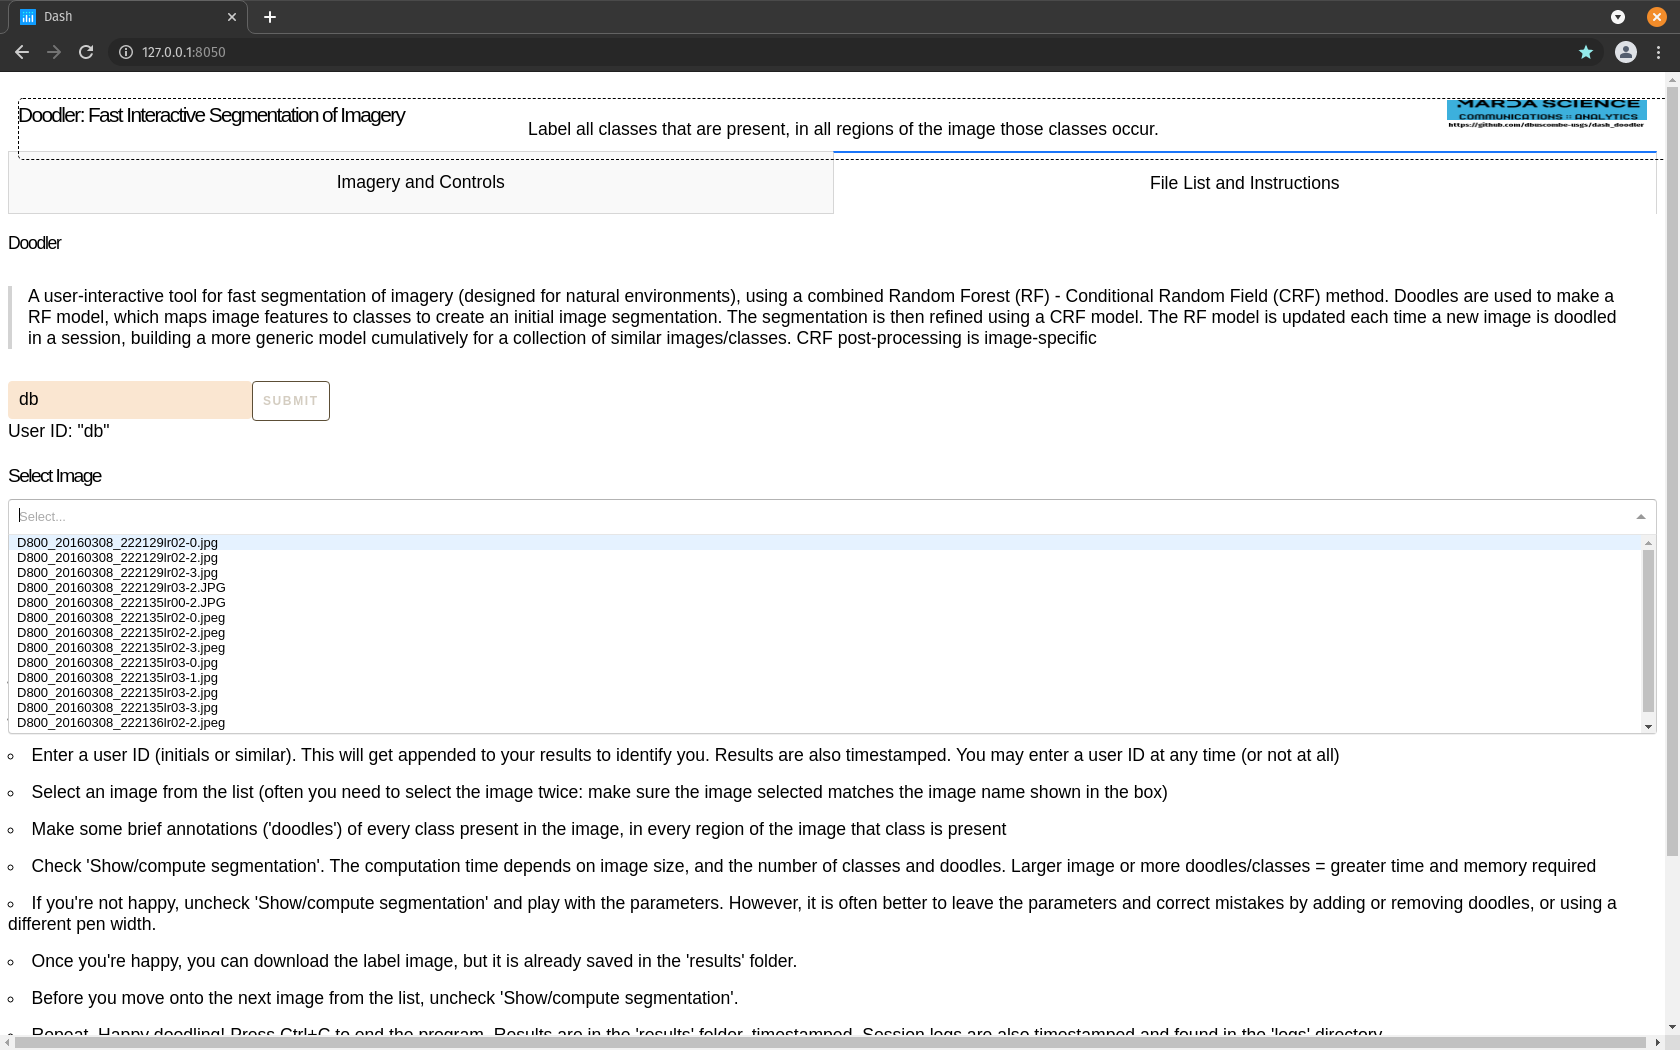
Identify yourself and select a file#
Go to the file list tab and type an identifier such as your initials or name and hit the submit button. This is optional, however it really helps keep track of who made what file when working in groups.
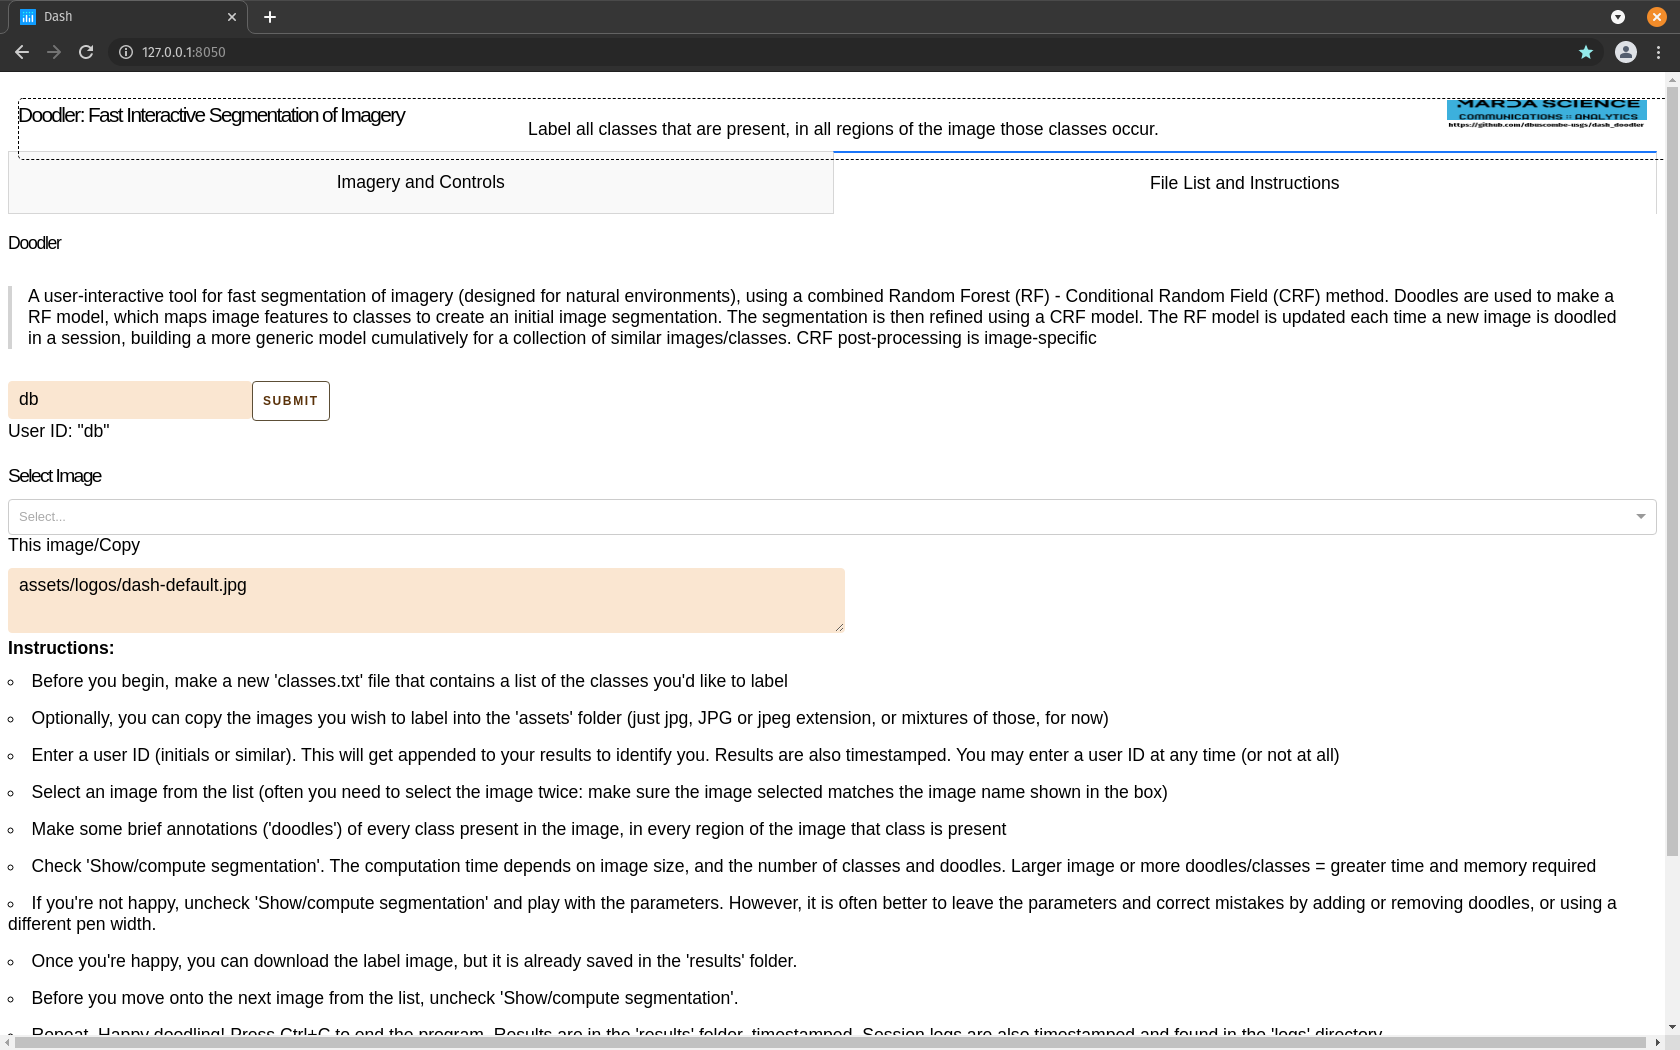
Tip
The ID field can also be used to append short notes or codes to each classified image. It can be changed any time and the most current value will be appended to the output file names
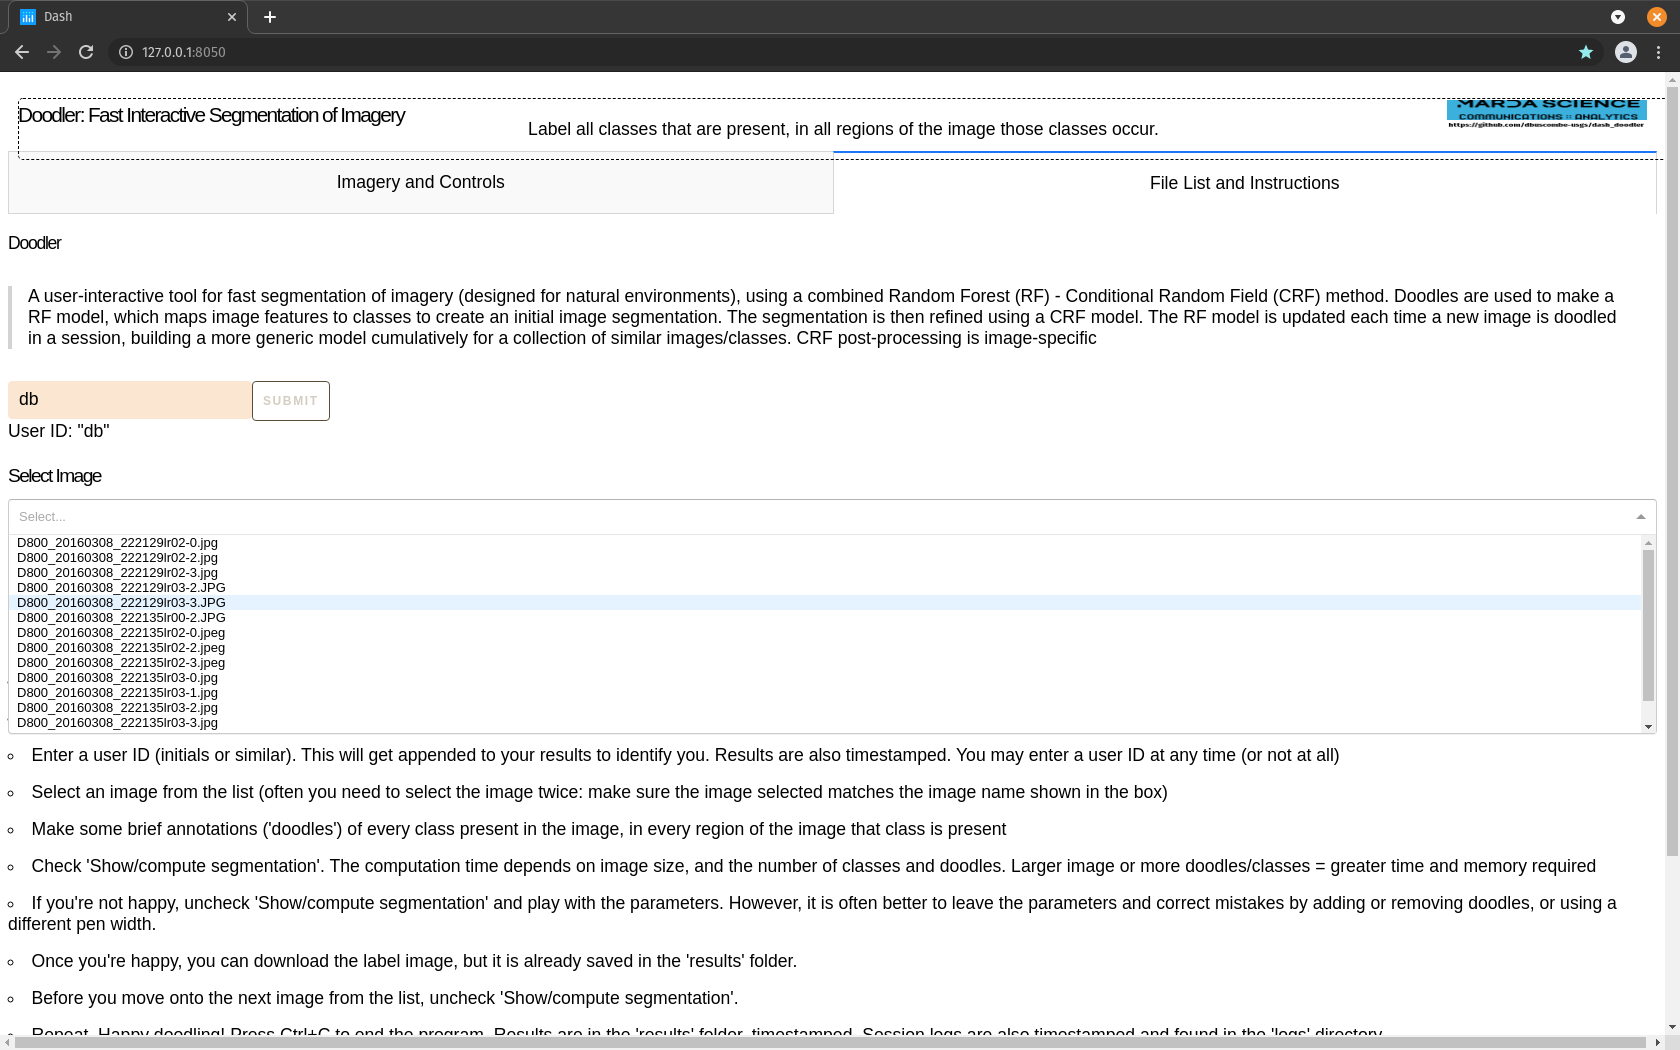
Select an image from the menu
Start 'doodling'#
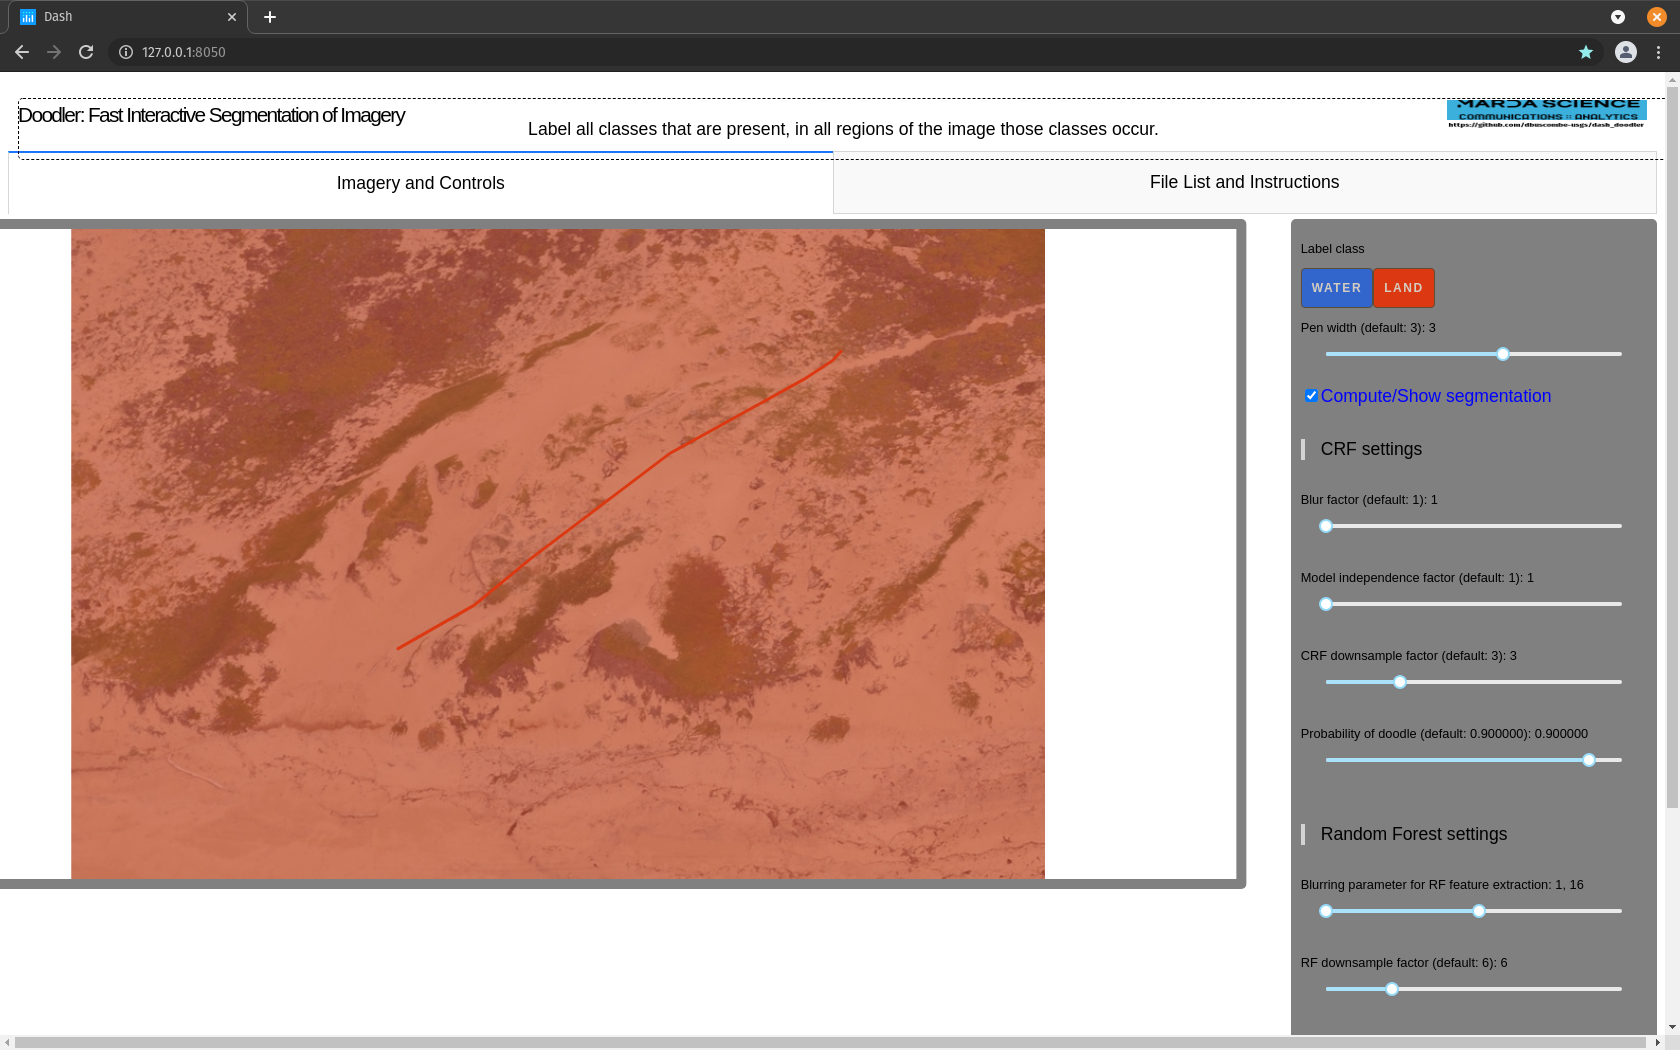
In the imagery tab, you'll see that the image you selected has loaded
Take a moment ...
... to decide on what classes are present and in what order you wish to label them. It may not matter yet what order but as you use the program more you may get a sense of the most efficient way to label the scene, which can depend in part on the order in which the classes are labeled
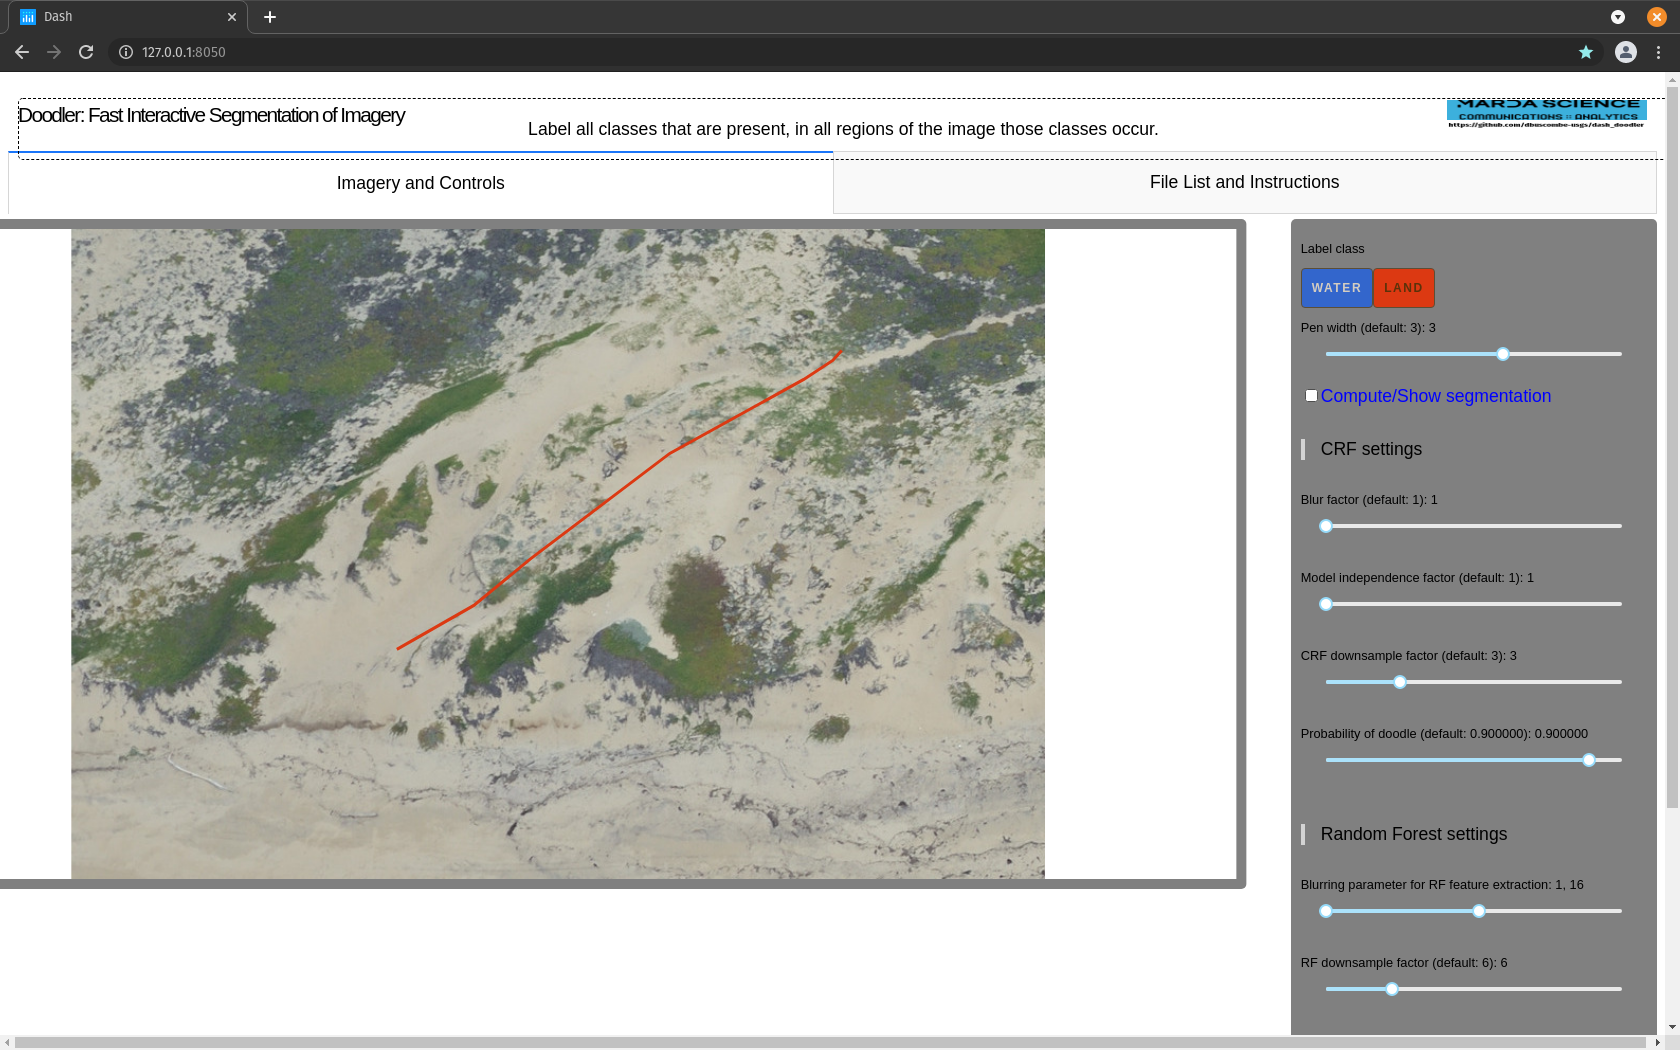
Select the first color button and start to draw, using a mouse or stylus, on the image where that class appears

Do so for all the classes present
The Golden Rule
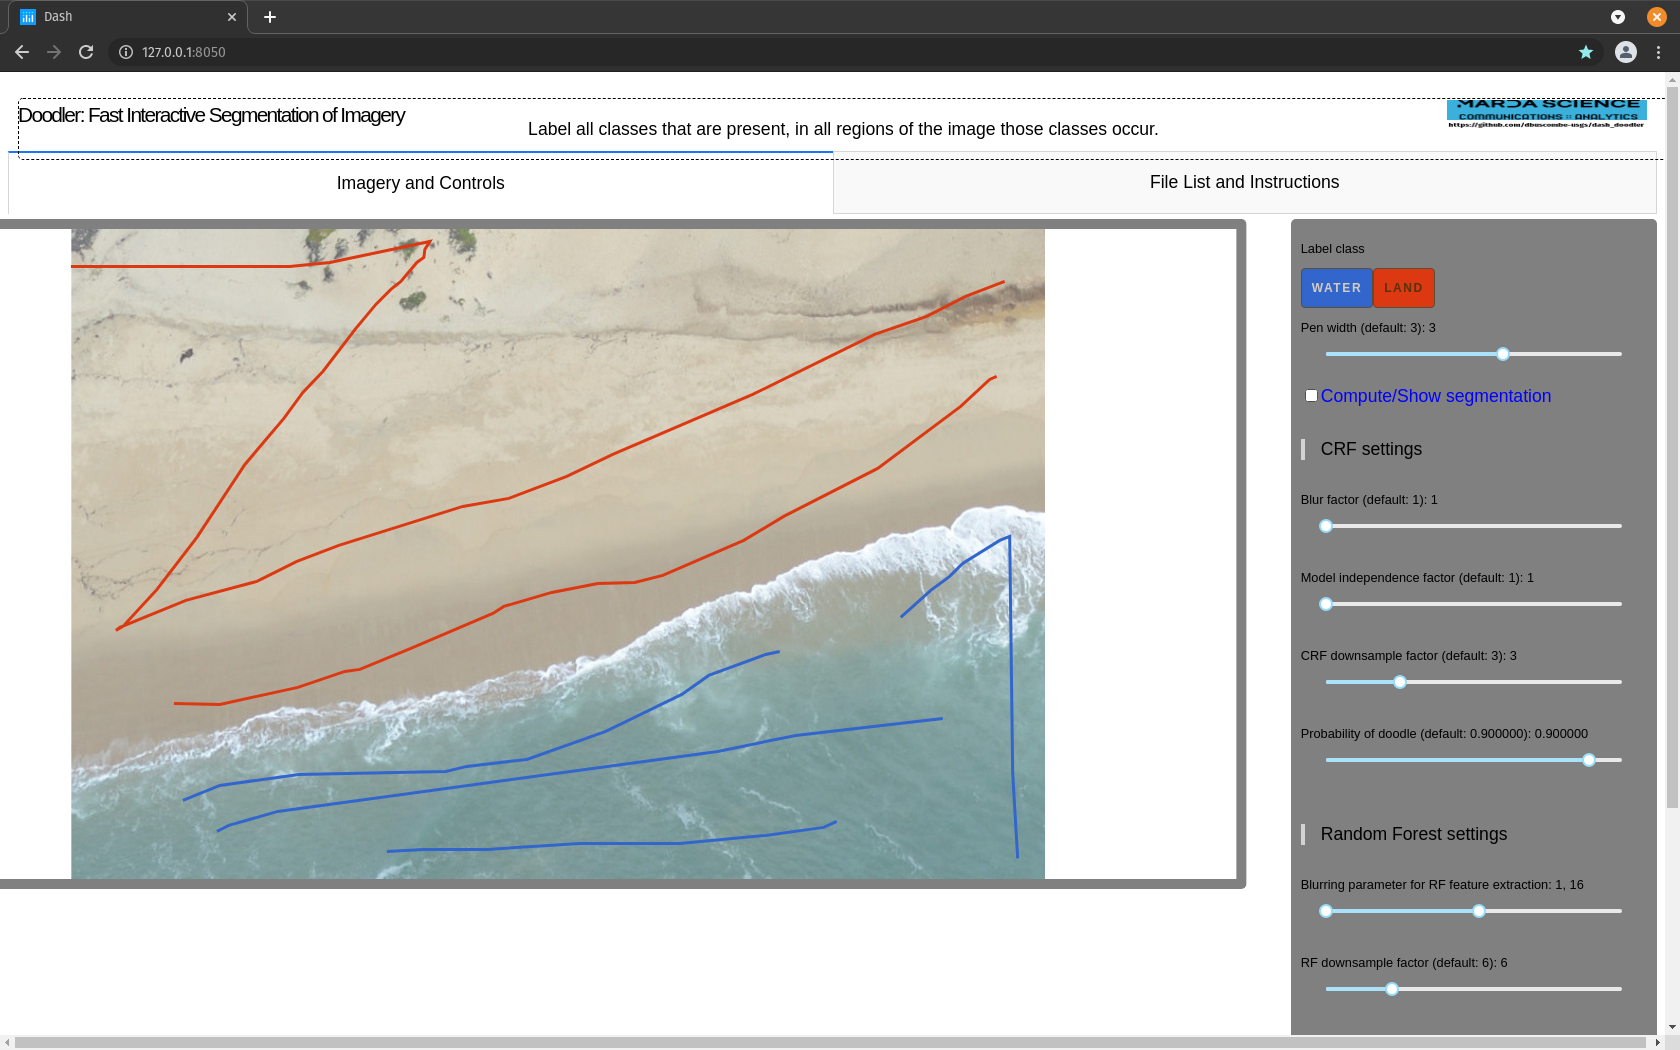
Label all classes that are present, in all regions of the image those classes occur. That means (in order of usual importance):
- Don't leave any classes out: if they are present, label them
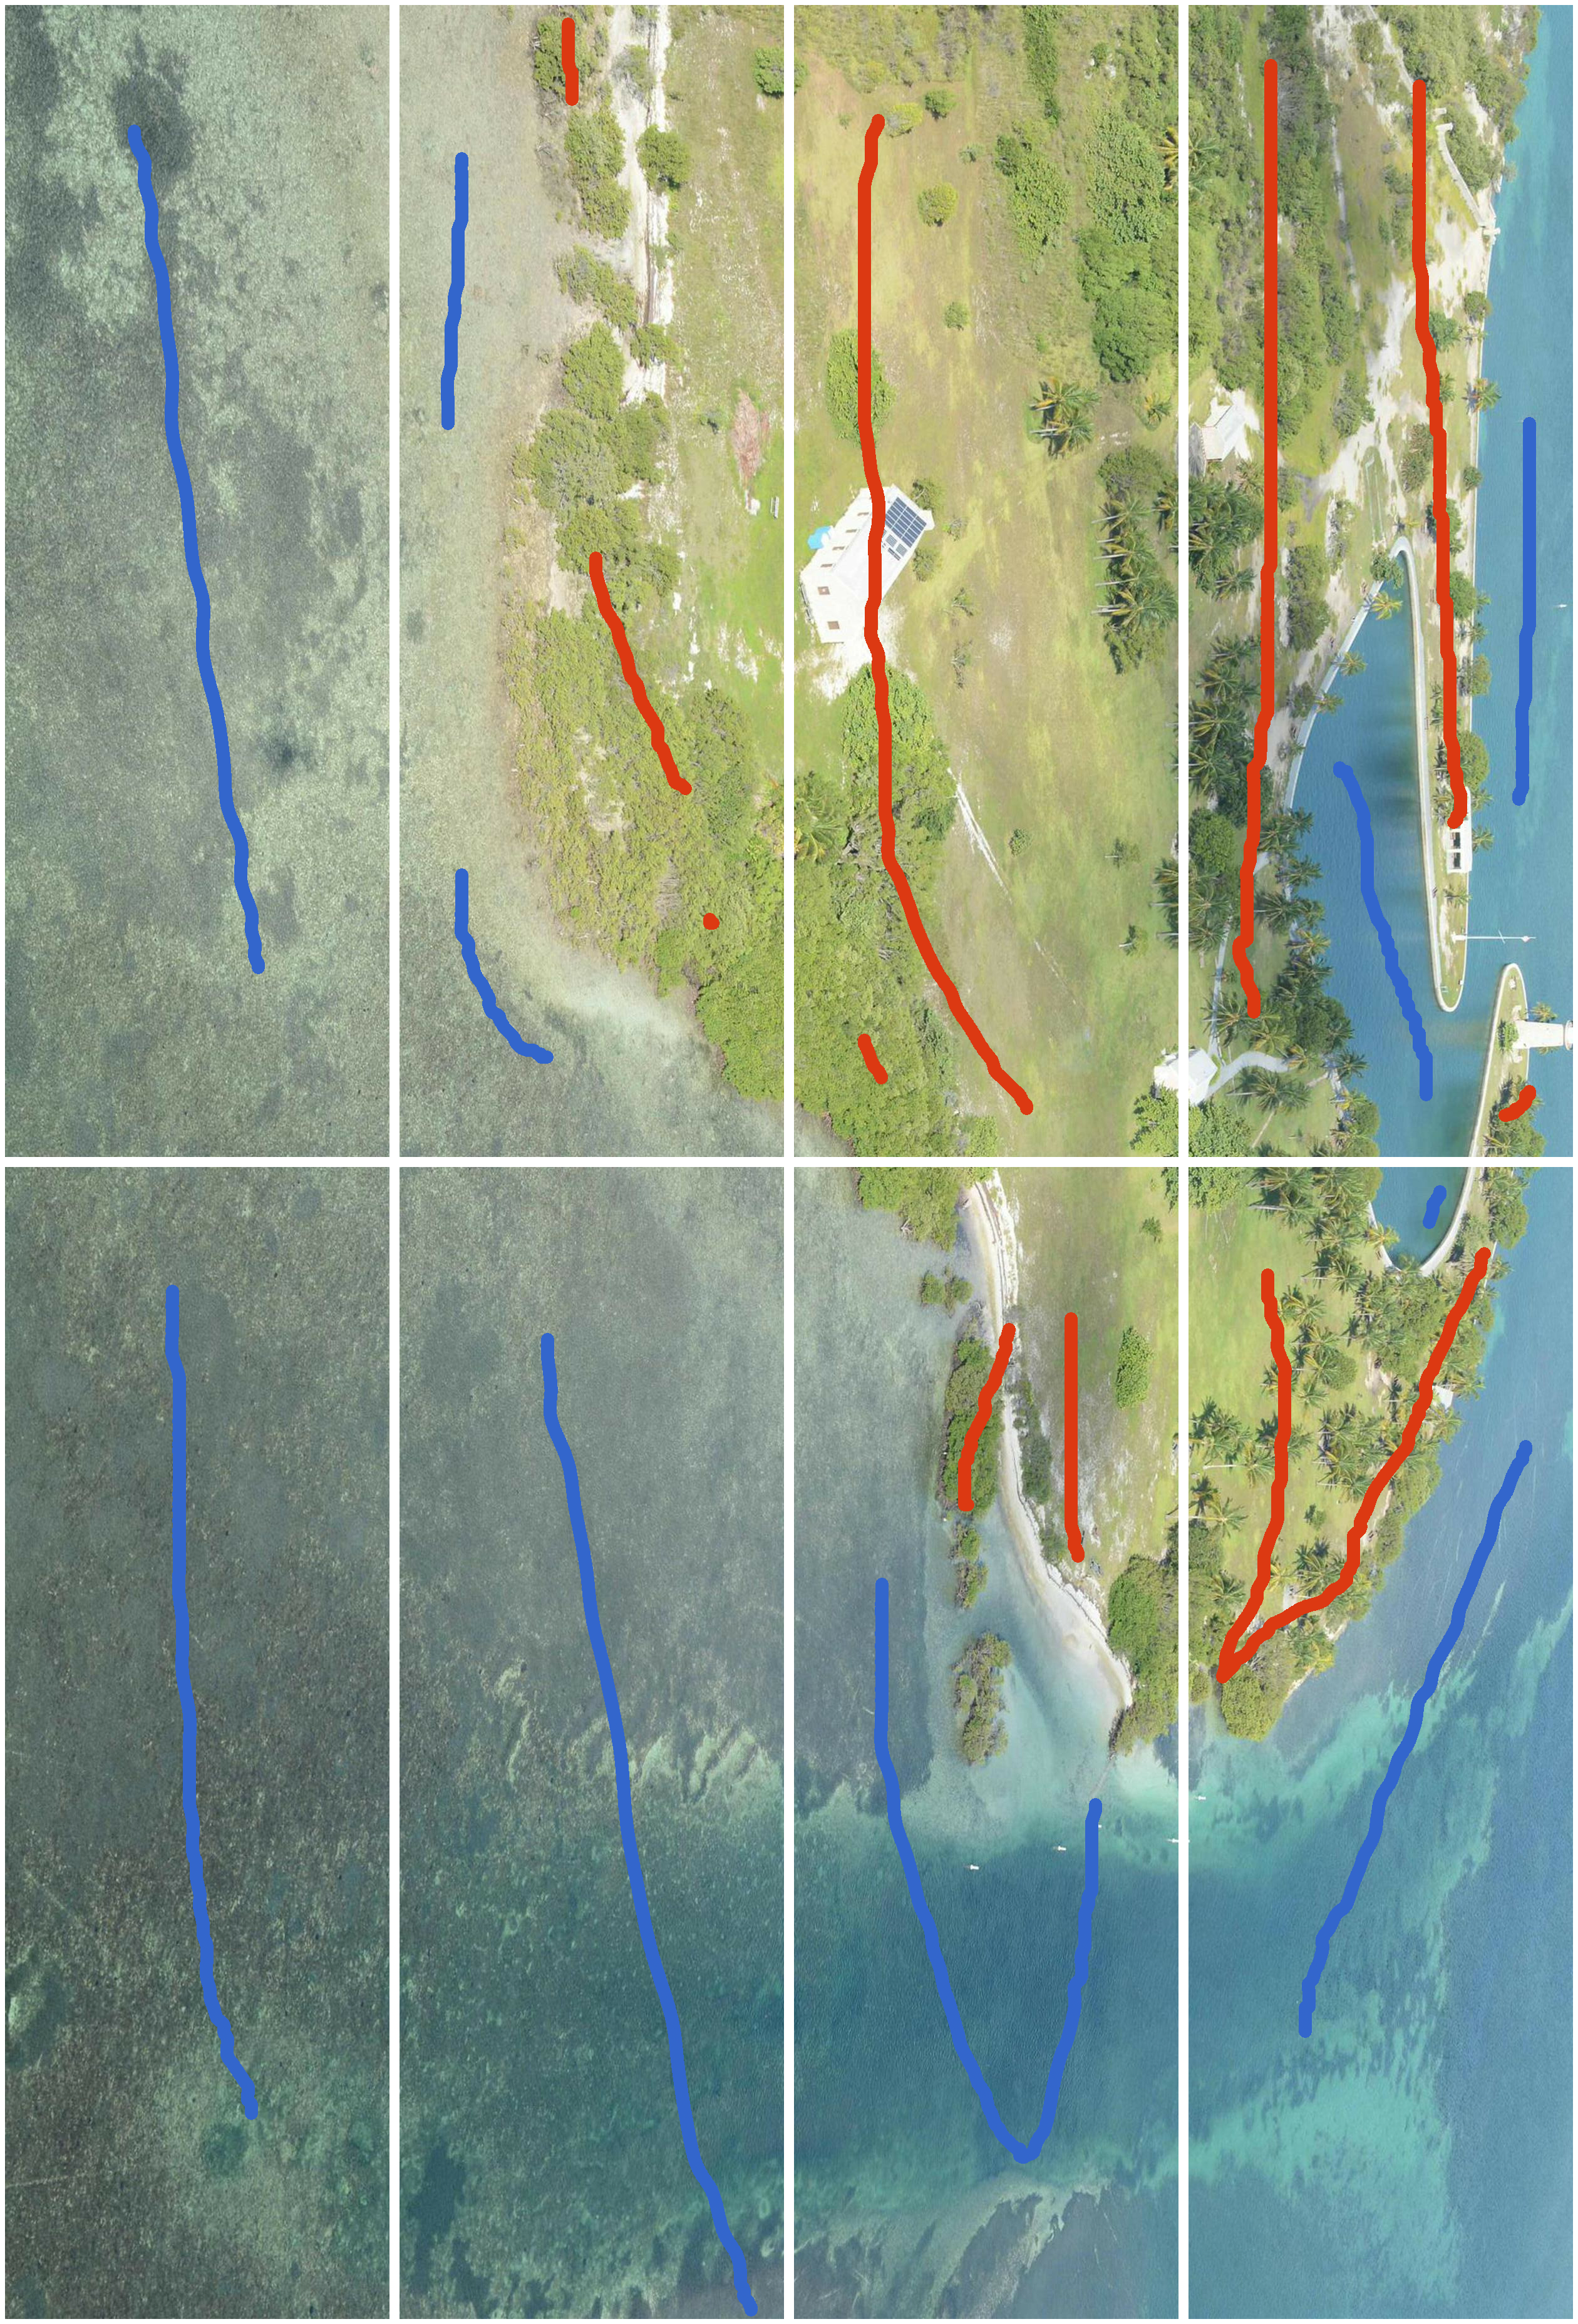
- Don't let any regions out: a region is hard to define, but as a rule of thumb you should be imagining laying a 4x2 (if the image is portrait) or 2x4 (for landscapes) grid over the image and labeling in each of the cells, such as:

or
When you have made your doodles, or at least your 'initial doodles', check Compute/Show segmentation. You should see the blue box spin to indicate that the computer is thinking.
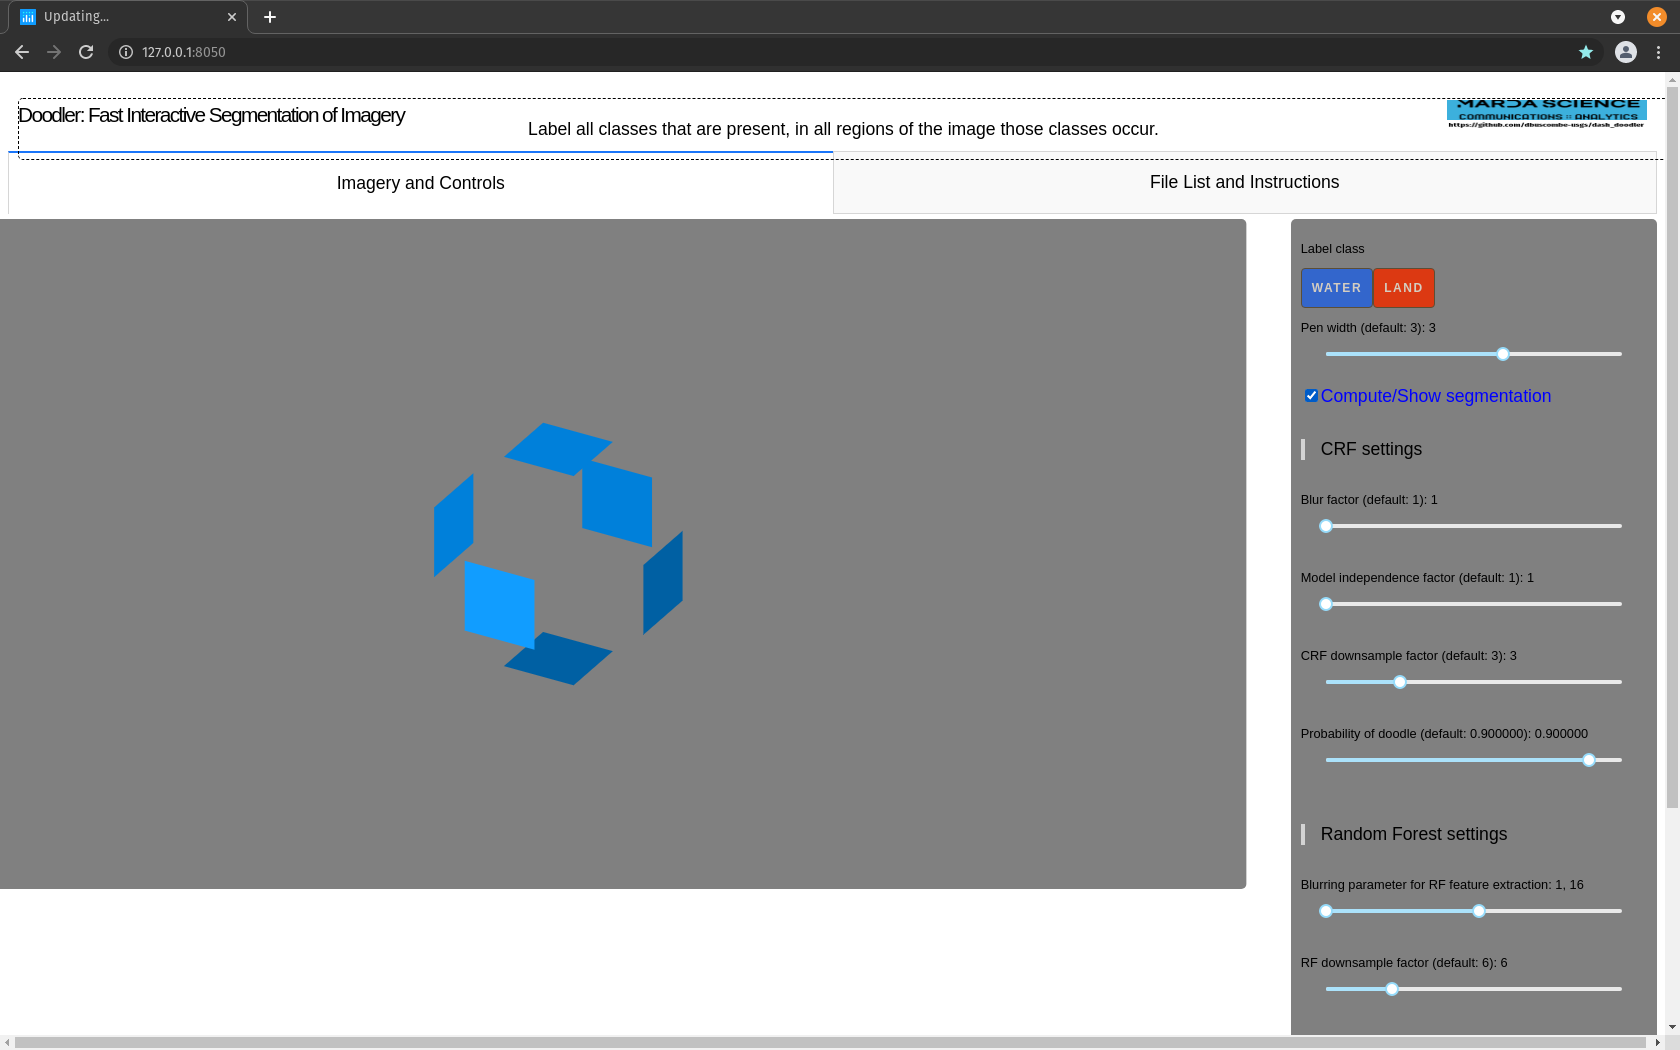
... about that spinning box
If the box spins very slowly or not at all, that is an indication that you don't have enough RAM. Consider exiting the program by hitting the Ctrl and the C keys on your keyboard together (or Ctrl+C), and trying again later using smaller imagery.
The amount of time depends on a few things, principally how large your imagery is, but also how fast your computer's processor is, and how many classes you have (the more classes, the slower it tends to be). If it is too slow, use smaller imagery. Using small imagery is always a good idea anyway.
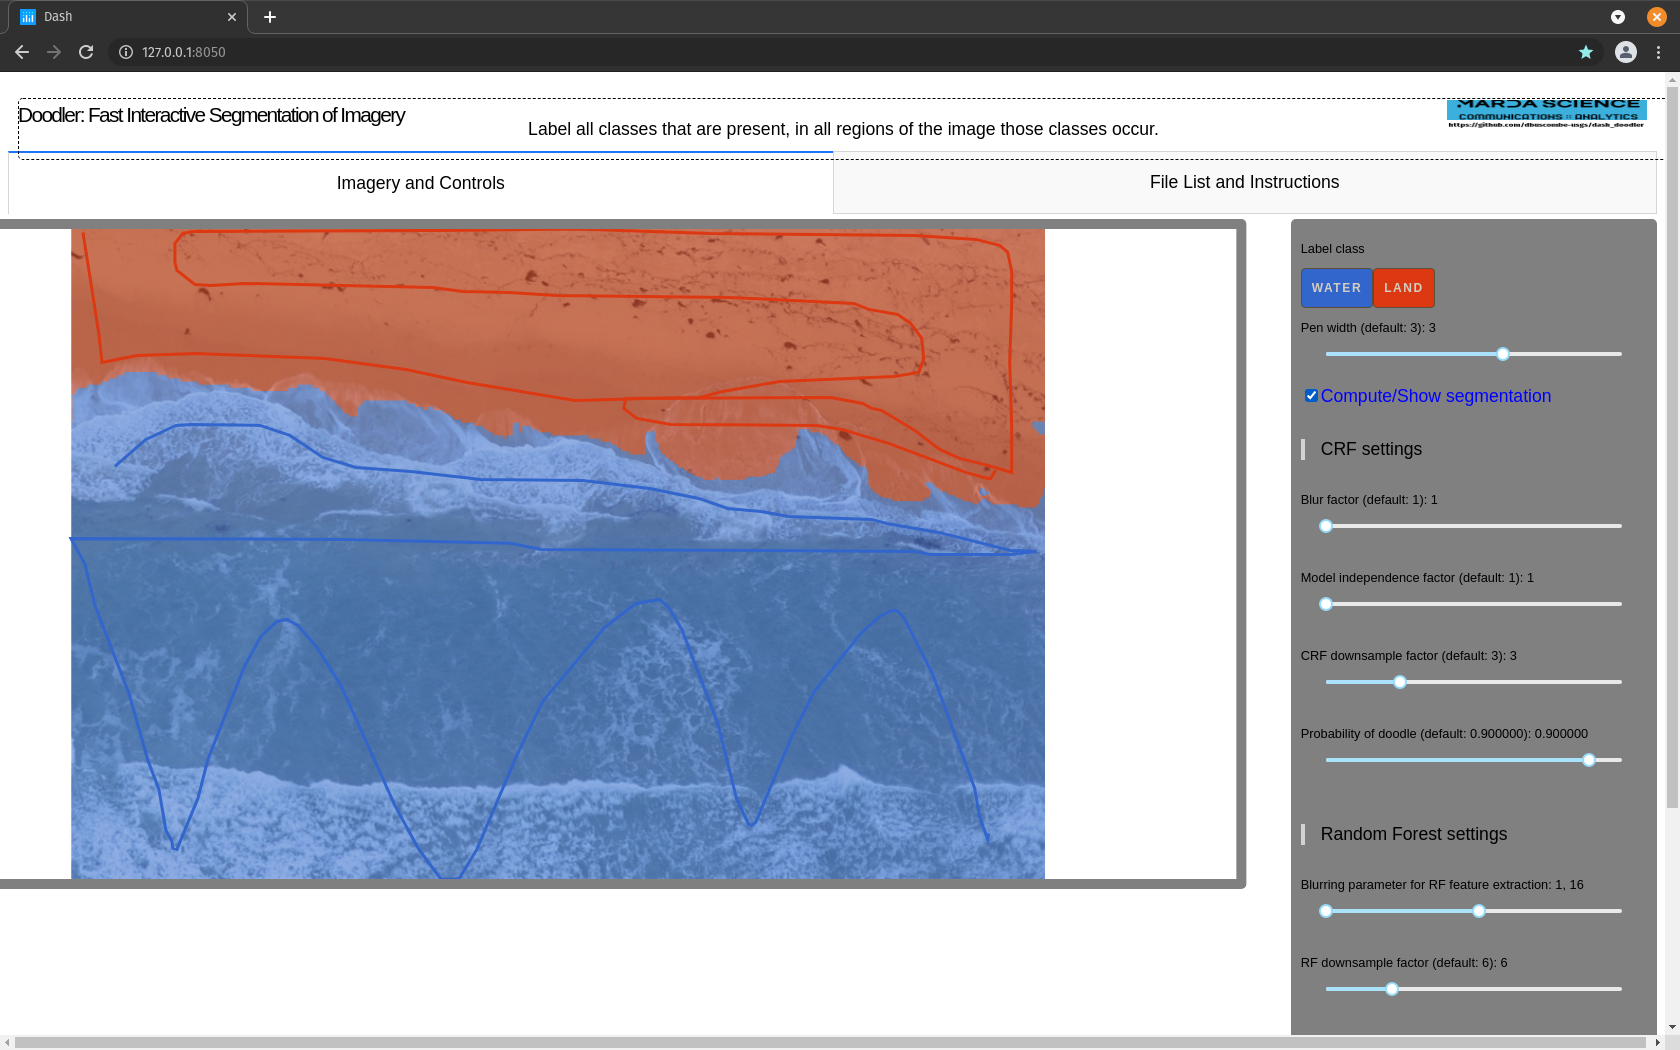
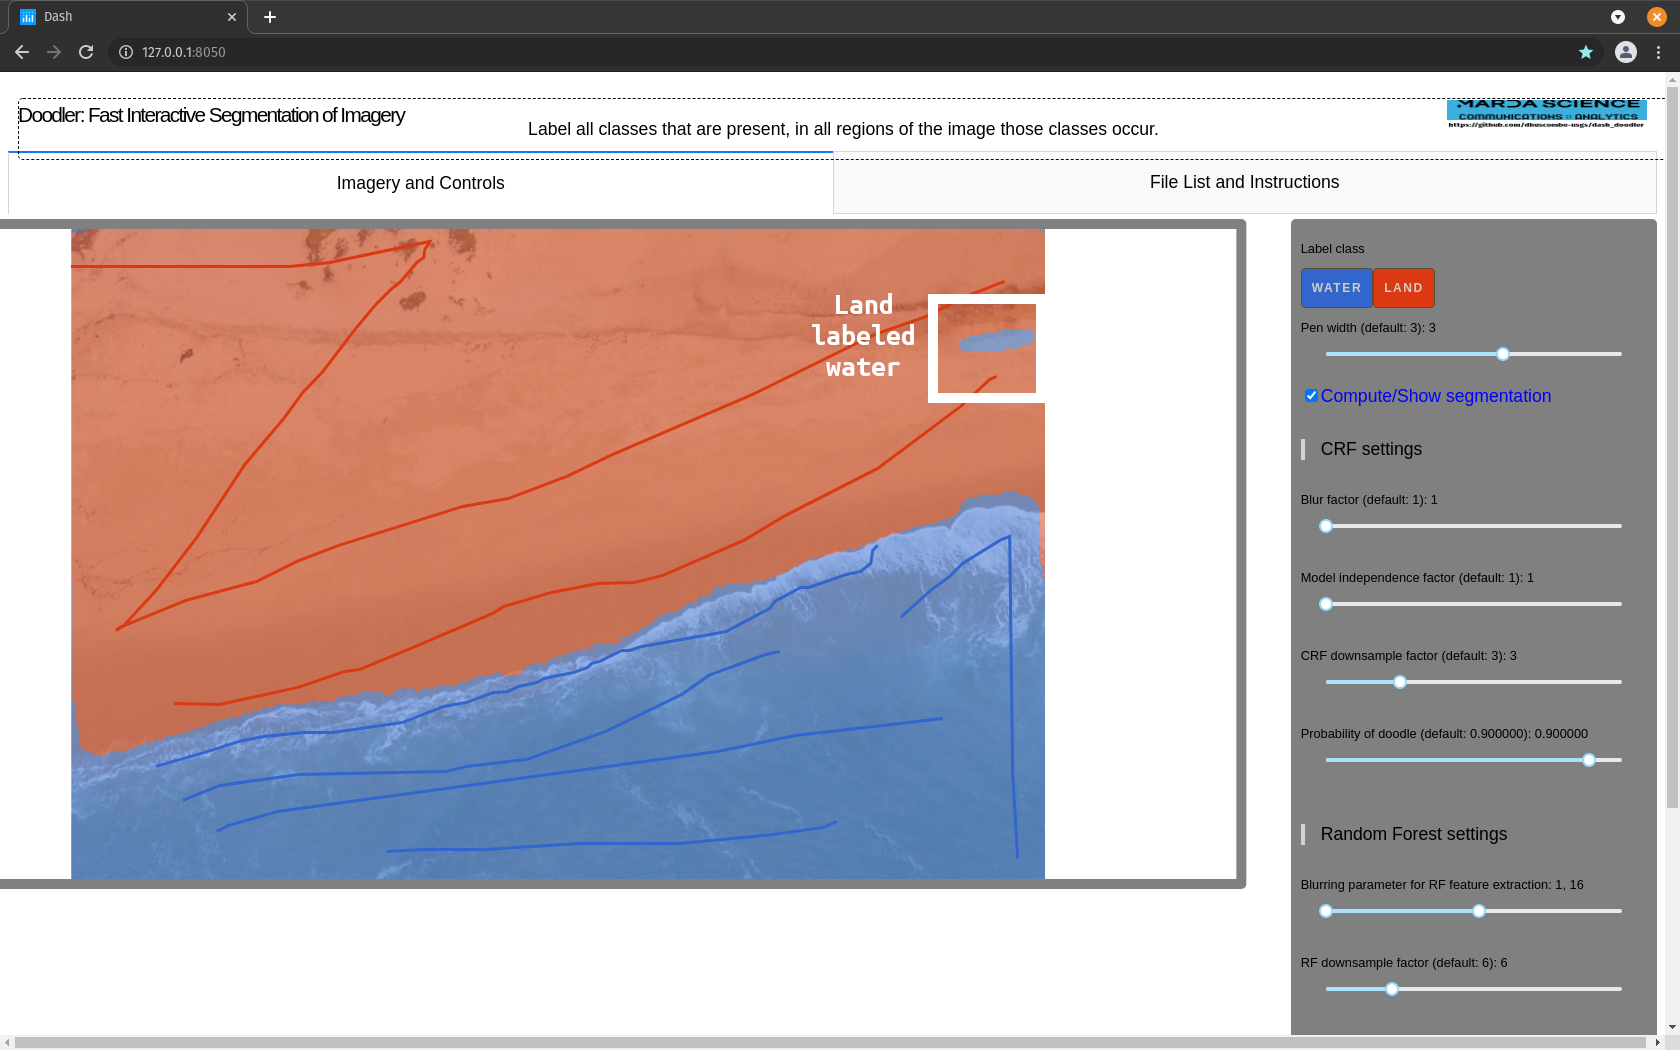
When it has completed the segmentation will show as a semi transparent color overlay, and your doodles will also still be visible:
Uncheck the Compute/Show segmentation before going to the file list tab to select a new image

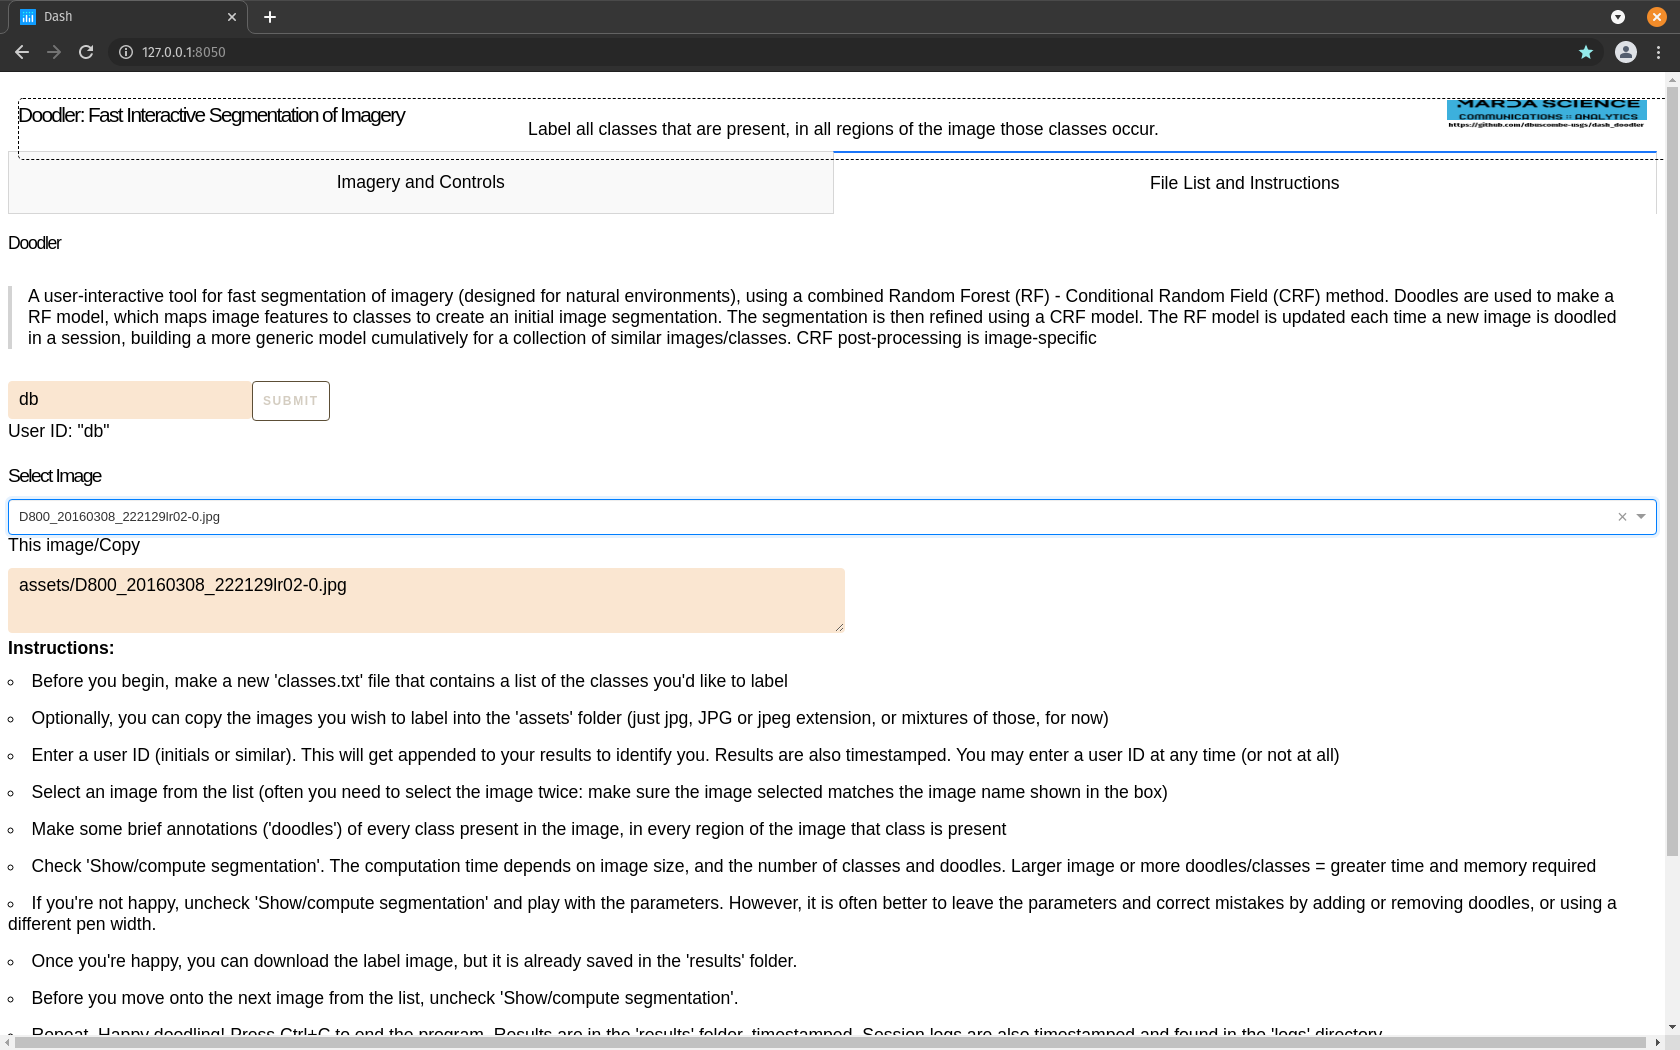
Select any image from the menu. It is explained below why not a specific one ...
... it is because for some reason your selection never 'sticks' first time. It is a known issue. Unfortunately you have to select any image, then select the image you want. You can confirm your choice has been made by seeing the name in the 'this image/copy' box below matches the image you selected the second time
If your image consists of only only class, make a small mark and hit compute/show segmentation.
If you only make doodles of one class, that tells Doodler to just label every pixel in the scene that class. Easy
Keep going!

Initial segmentation needs a little work near the shoreline

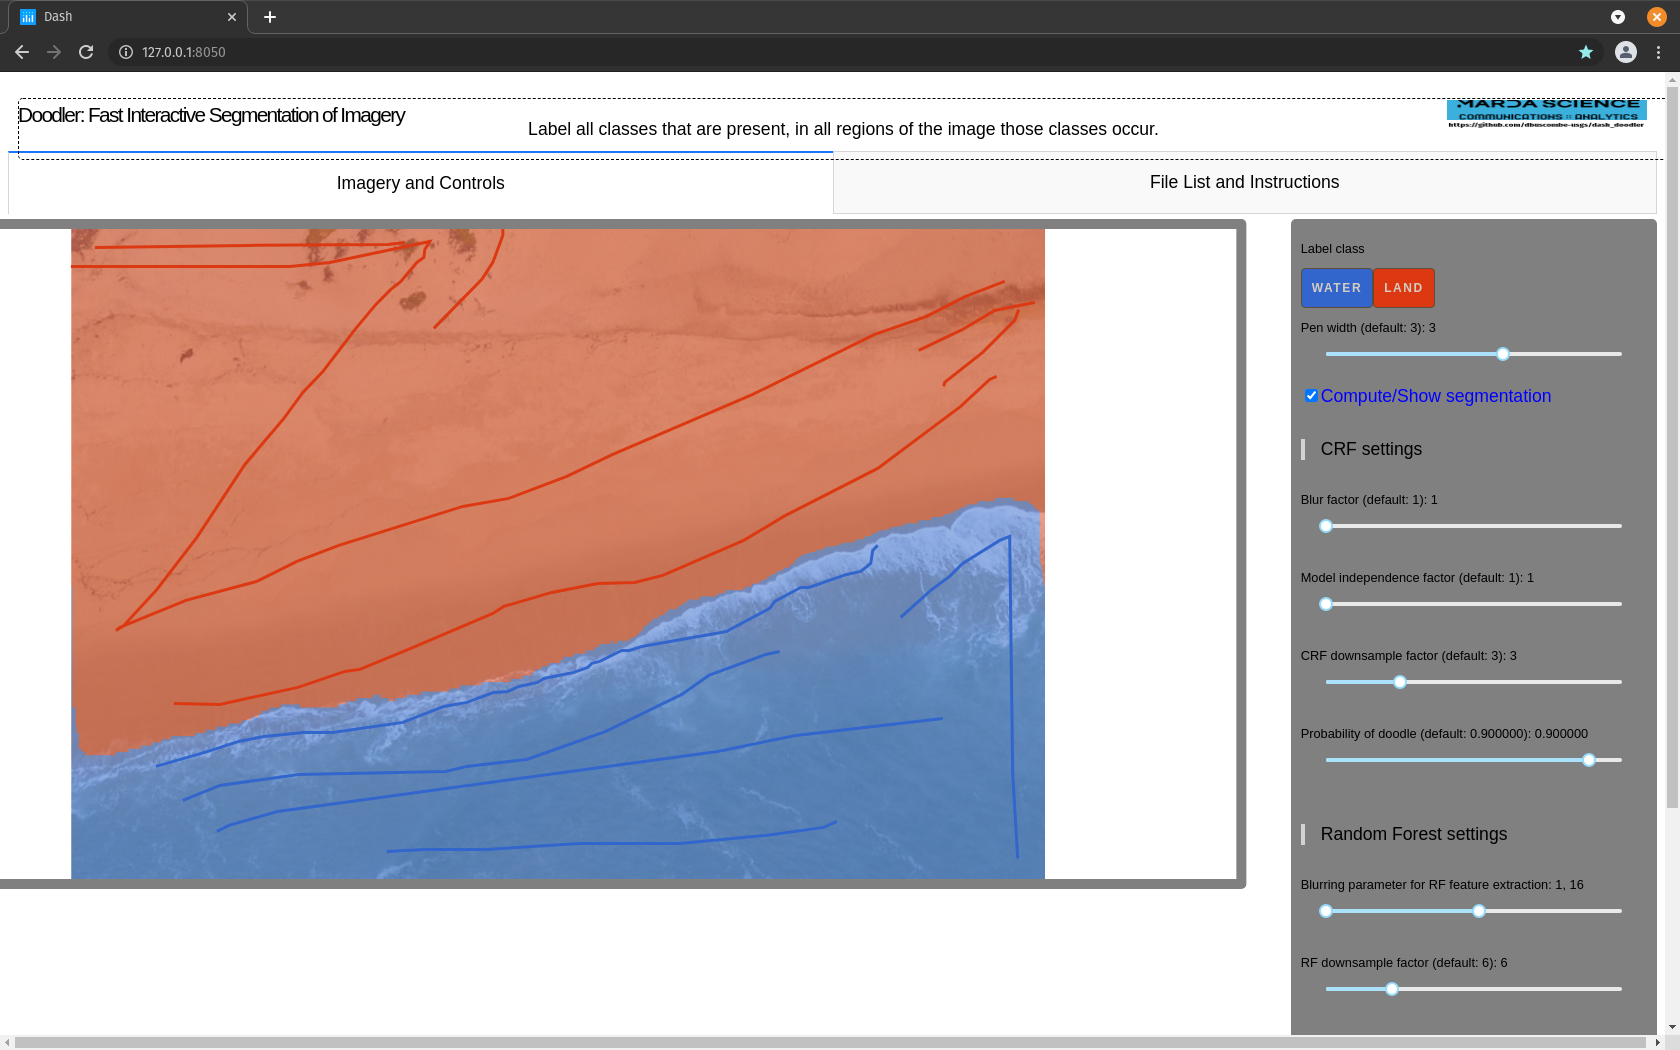
Add more water labels near the shoreline. That fixes the shoreline, but makes a small water hole appear on land:
Finally, some doodles to fill that hole
Don't over-doodle!
In Doodler, less is often more. Keep your doodles small and strategic; do not attempt to 'color in' the image, which is almost always a counter-productive strategy, leading to model overfitting
A word on those default label colors ...#
The default colormap is plotly's G10, found here. The hex (rgb) color sequence is:
(you can google search those hex codes and get a color picker view).
This is class 1, class 2, class 9, etc
If you have more than 10 classes, the program uses Light24 instead. This will give you up to 24 classes, which are (hex / RGB)
In that colorscheme, this is class 1, class 12, class 24
Inspect the results#
Results (label images and annotation images) are saved to the results/ folder, inside a subfolder named using the current date and time. The program creates a subfolder each time it is launched, timestamped. That folder contains your results for a session. The results are in a format called npz, which the numpy compressed array storage format. There are a few good reasons why we use that format, but we'll not go into that here.
To visualize the labels you have made, there is a utility provided
It will show you each labeled image, one at a time. Close the image to allow the program to proceed to the next. If you'd rather see all at once, you can ask the program to print them to file (-l 1 in the below) and suppress plotting to screen (-p 0)
You can also make really detailed analyses of your doodles by running the provided plot_label_generation.py script, whose syntax is
where
Ongoing use and maintenance#
Occasionally, the software is updated. If you watch the repository on github, you can receive alerts about when this happens.
It is best practice to move your images from assets and labeled folders, and outputs from results and logs.
For most users who have not modified the contents from the last git pull, to update should be a simple matter of carrying out another
The git way#
However, when you have changes on your working copy, from command line you can use git stash:
Unsupported territory
Please do not use the Doodler issues tab to ask questions for how to use git - they will be closed. Learn how to use git, or develop a workaround that involves moving your files out of the Doodler folder structure, or working from a copy of the Doodler program structure.
If you need to see what is in your stash, use:
This will stash your changes and clear your status report. Next do:
This will apply stashed changes back to working copy and remove the changes from stash unless you have conflicts. In the case of conflict, they will stay in stash so you can start over if needed:
A one-liner with no stash checking is:
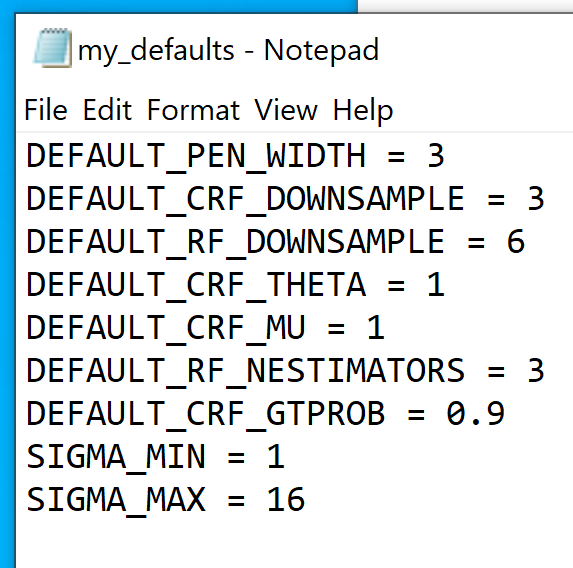
Edit/create my_defaults.py#
The program will make this file, but if you ever need to create or make this file, here is one way how: