Installing Doodler on a PC for your own use
These instructions are for regular python and command line users.
Doodler is a python program that is designed to run within a conda environment, accessed from the command line (terminal). It is designed to work on all modern Windows, Mac OS X, and Linux distributions, with python 3.6 or greater. It therefore requires some familiarity with process of navigating to a directory, and running a python script from a command line interface (CLI) such as a Anaconda prompt terminal window, Powershell terminal window, git bash shell, or other terminal/command line interface.
Conda environments are created in various ways, but the following instructions assume you are using the popular (and free) Anaconda python/conda distribution. A good lightweight alternative to Anaconda is Miniconda
Install#
Open a CLI (see above) - if in doubt, we recommend using the Anaconda shell that is installed by the Anaconda installation process.
Download repository from github#
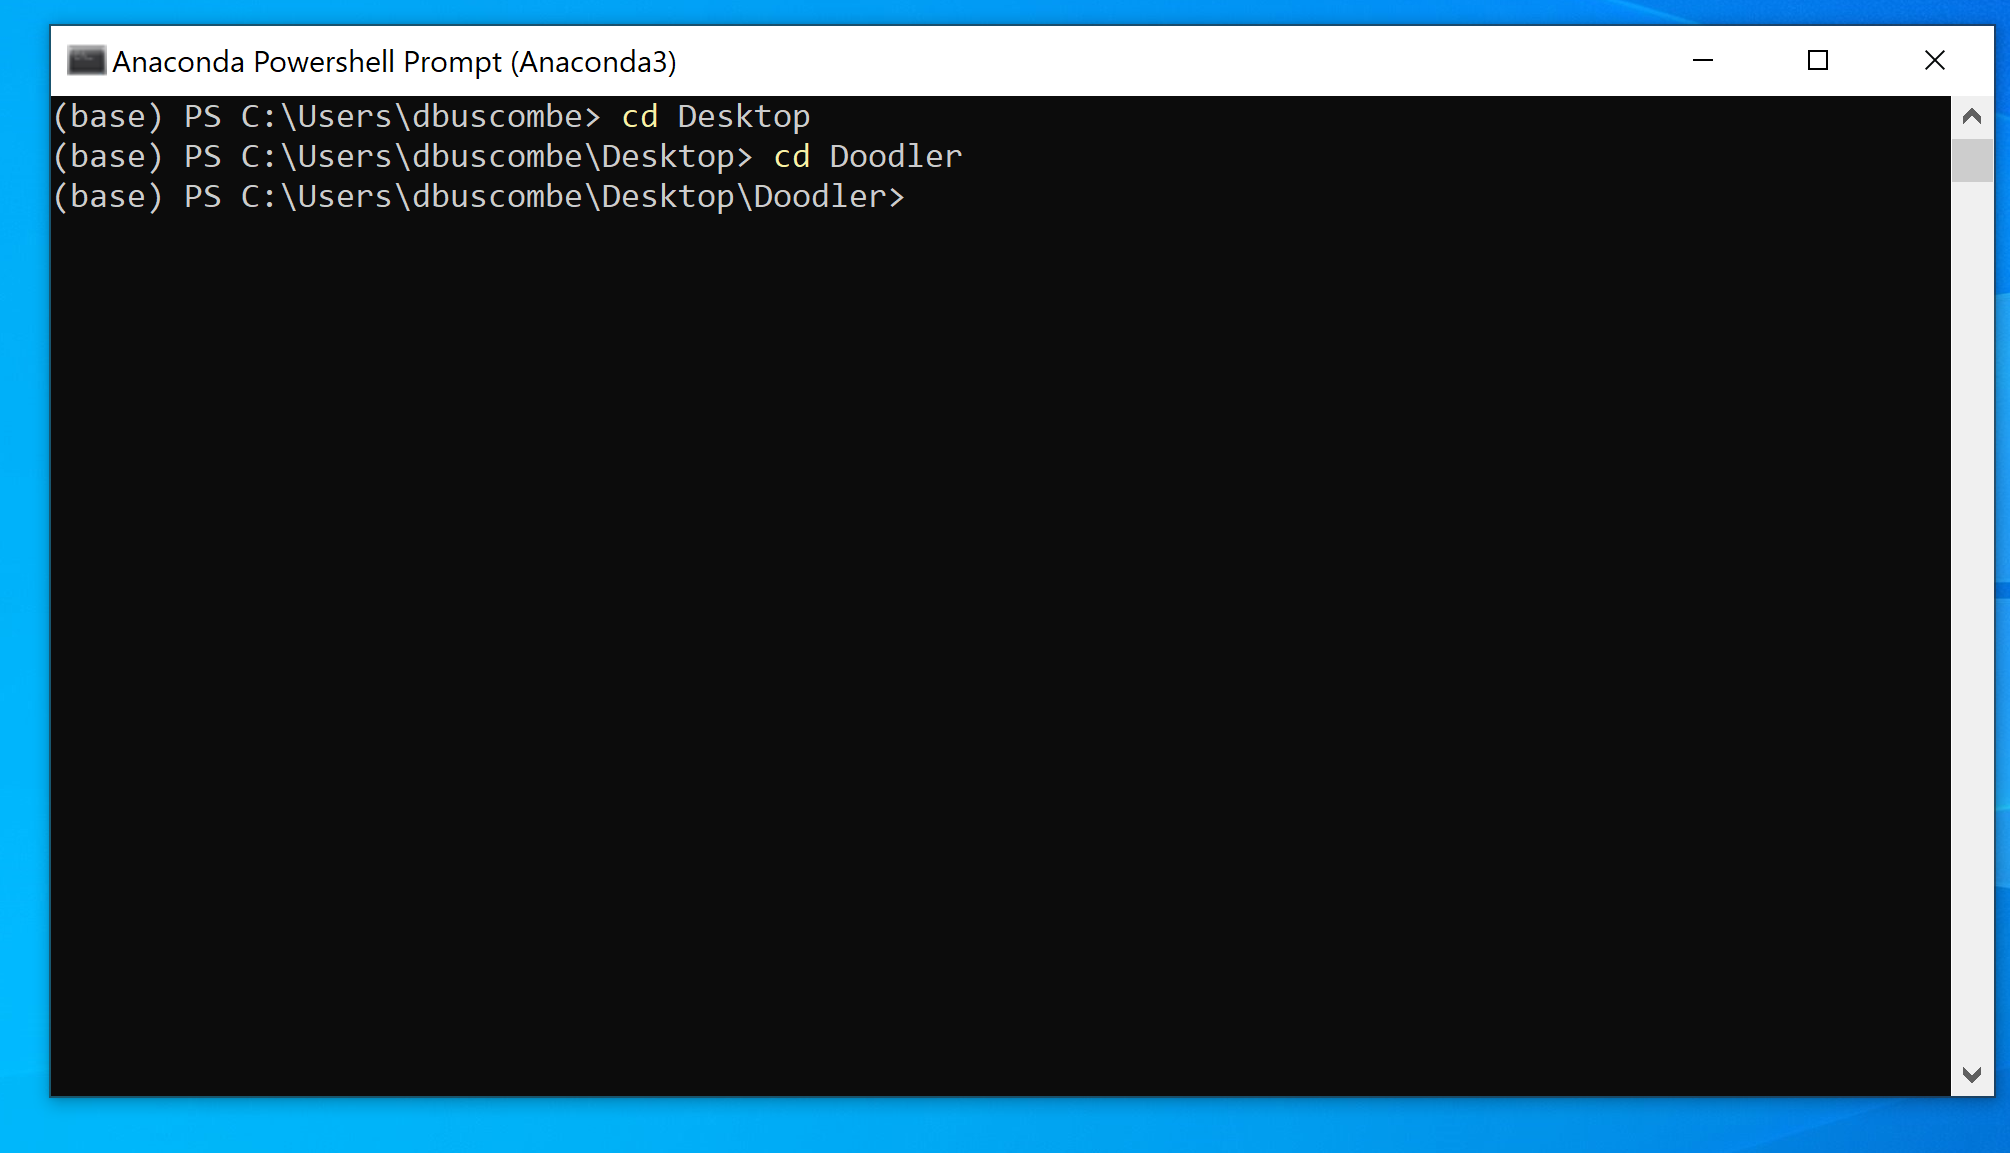
Navigate to a suitable place on your PC using shell navigation commands (cd) and clone/download the repository
(the --depth 1 just means it will pull only the latest version of the software, saving time and disk space)
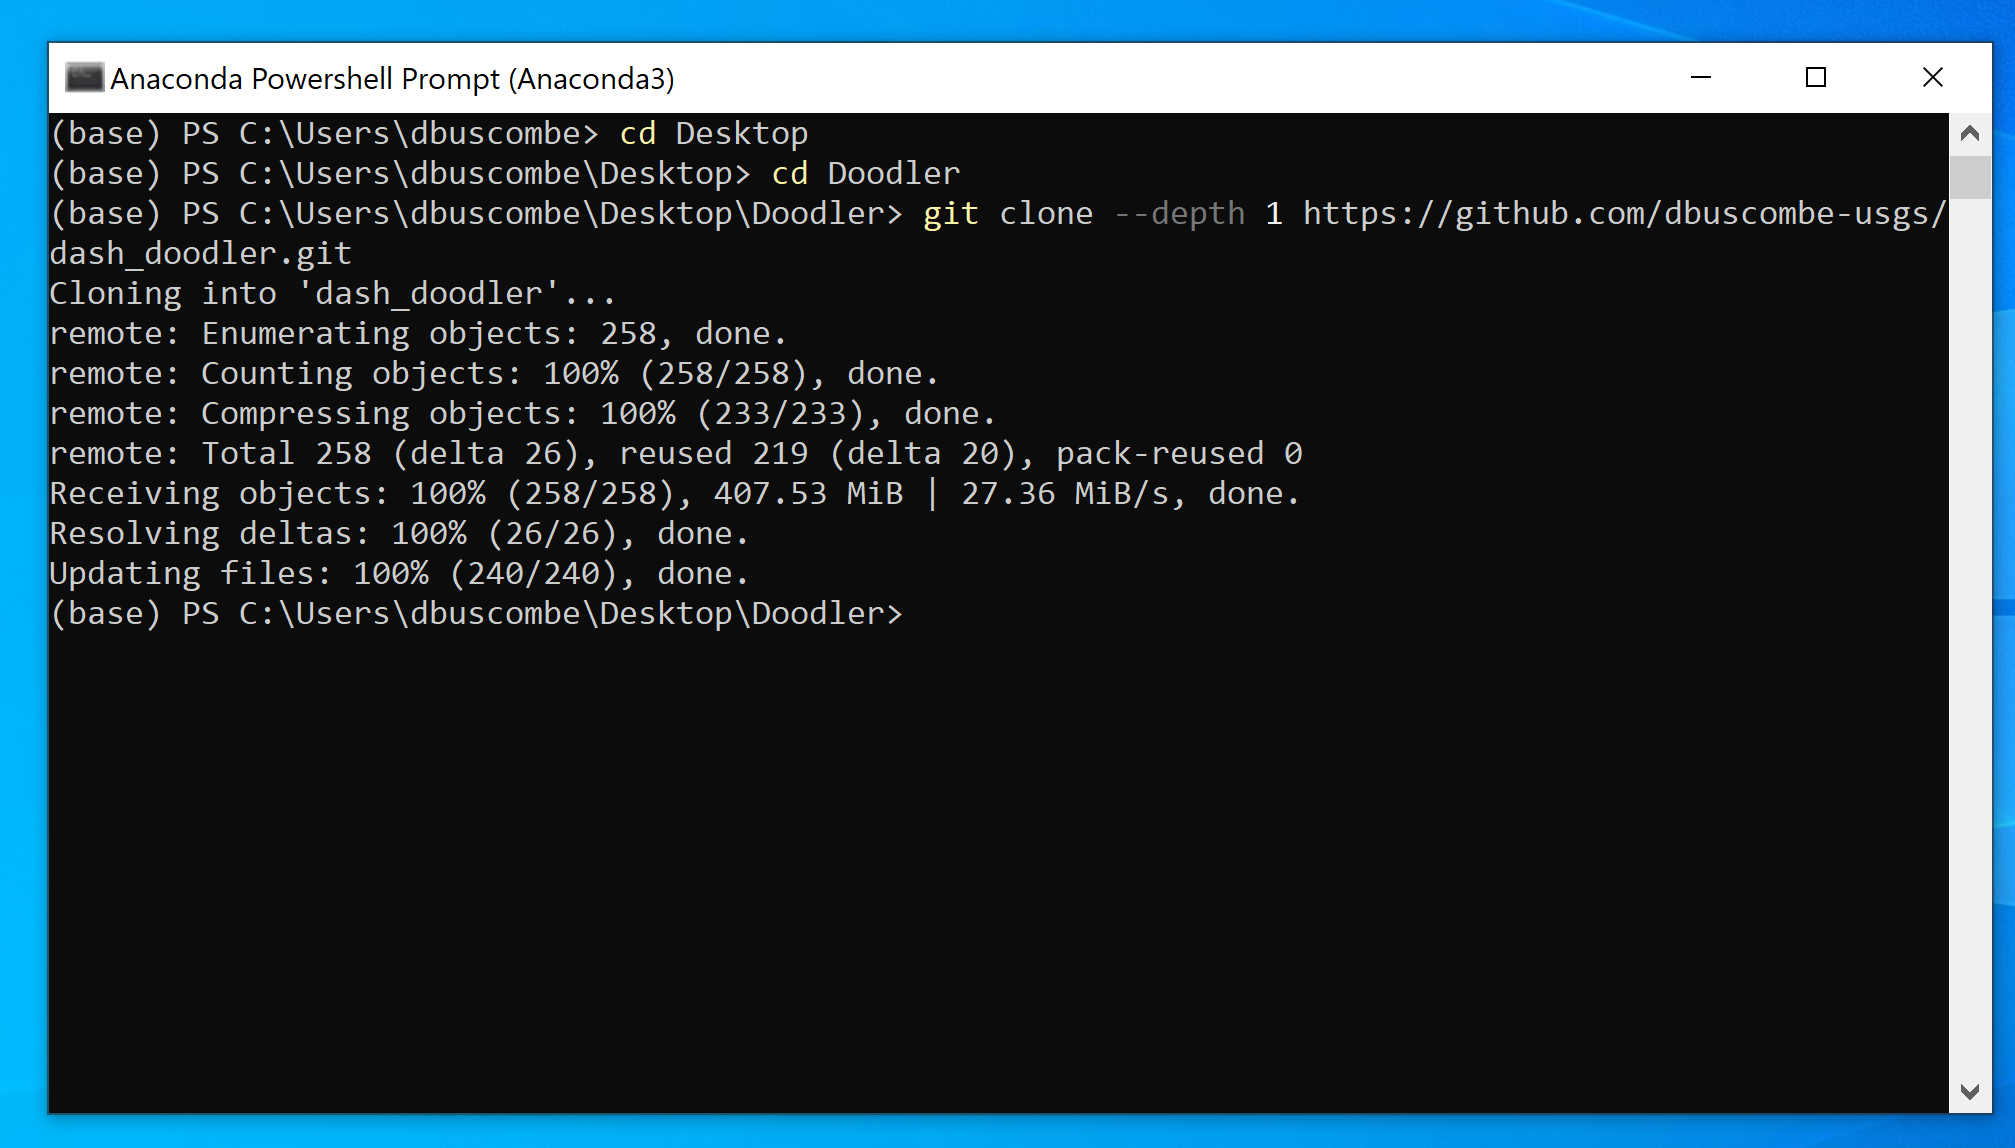
Then change directory (cd) to the dash_doodler folder that you just downloaded
Install the requirements#
Tip
If you are a regular conda user, now would be a good time to
Next create a new conda evironment, called dashdoodler
We are using packages from conda-forge, a channel of software versions contributed by the community
Workaround
If (and only if) the above doesn't work, try this:
Finally, activate the environment so you can use it
Tip
If you are a Windows user (only) who wishes to use unix style commands, additionally install m2-base
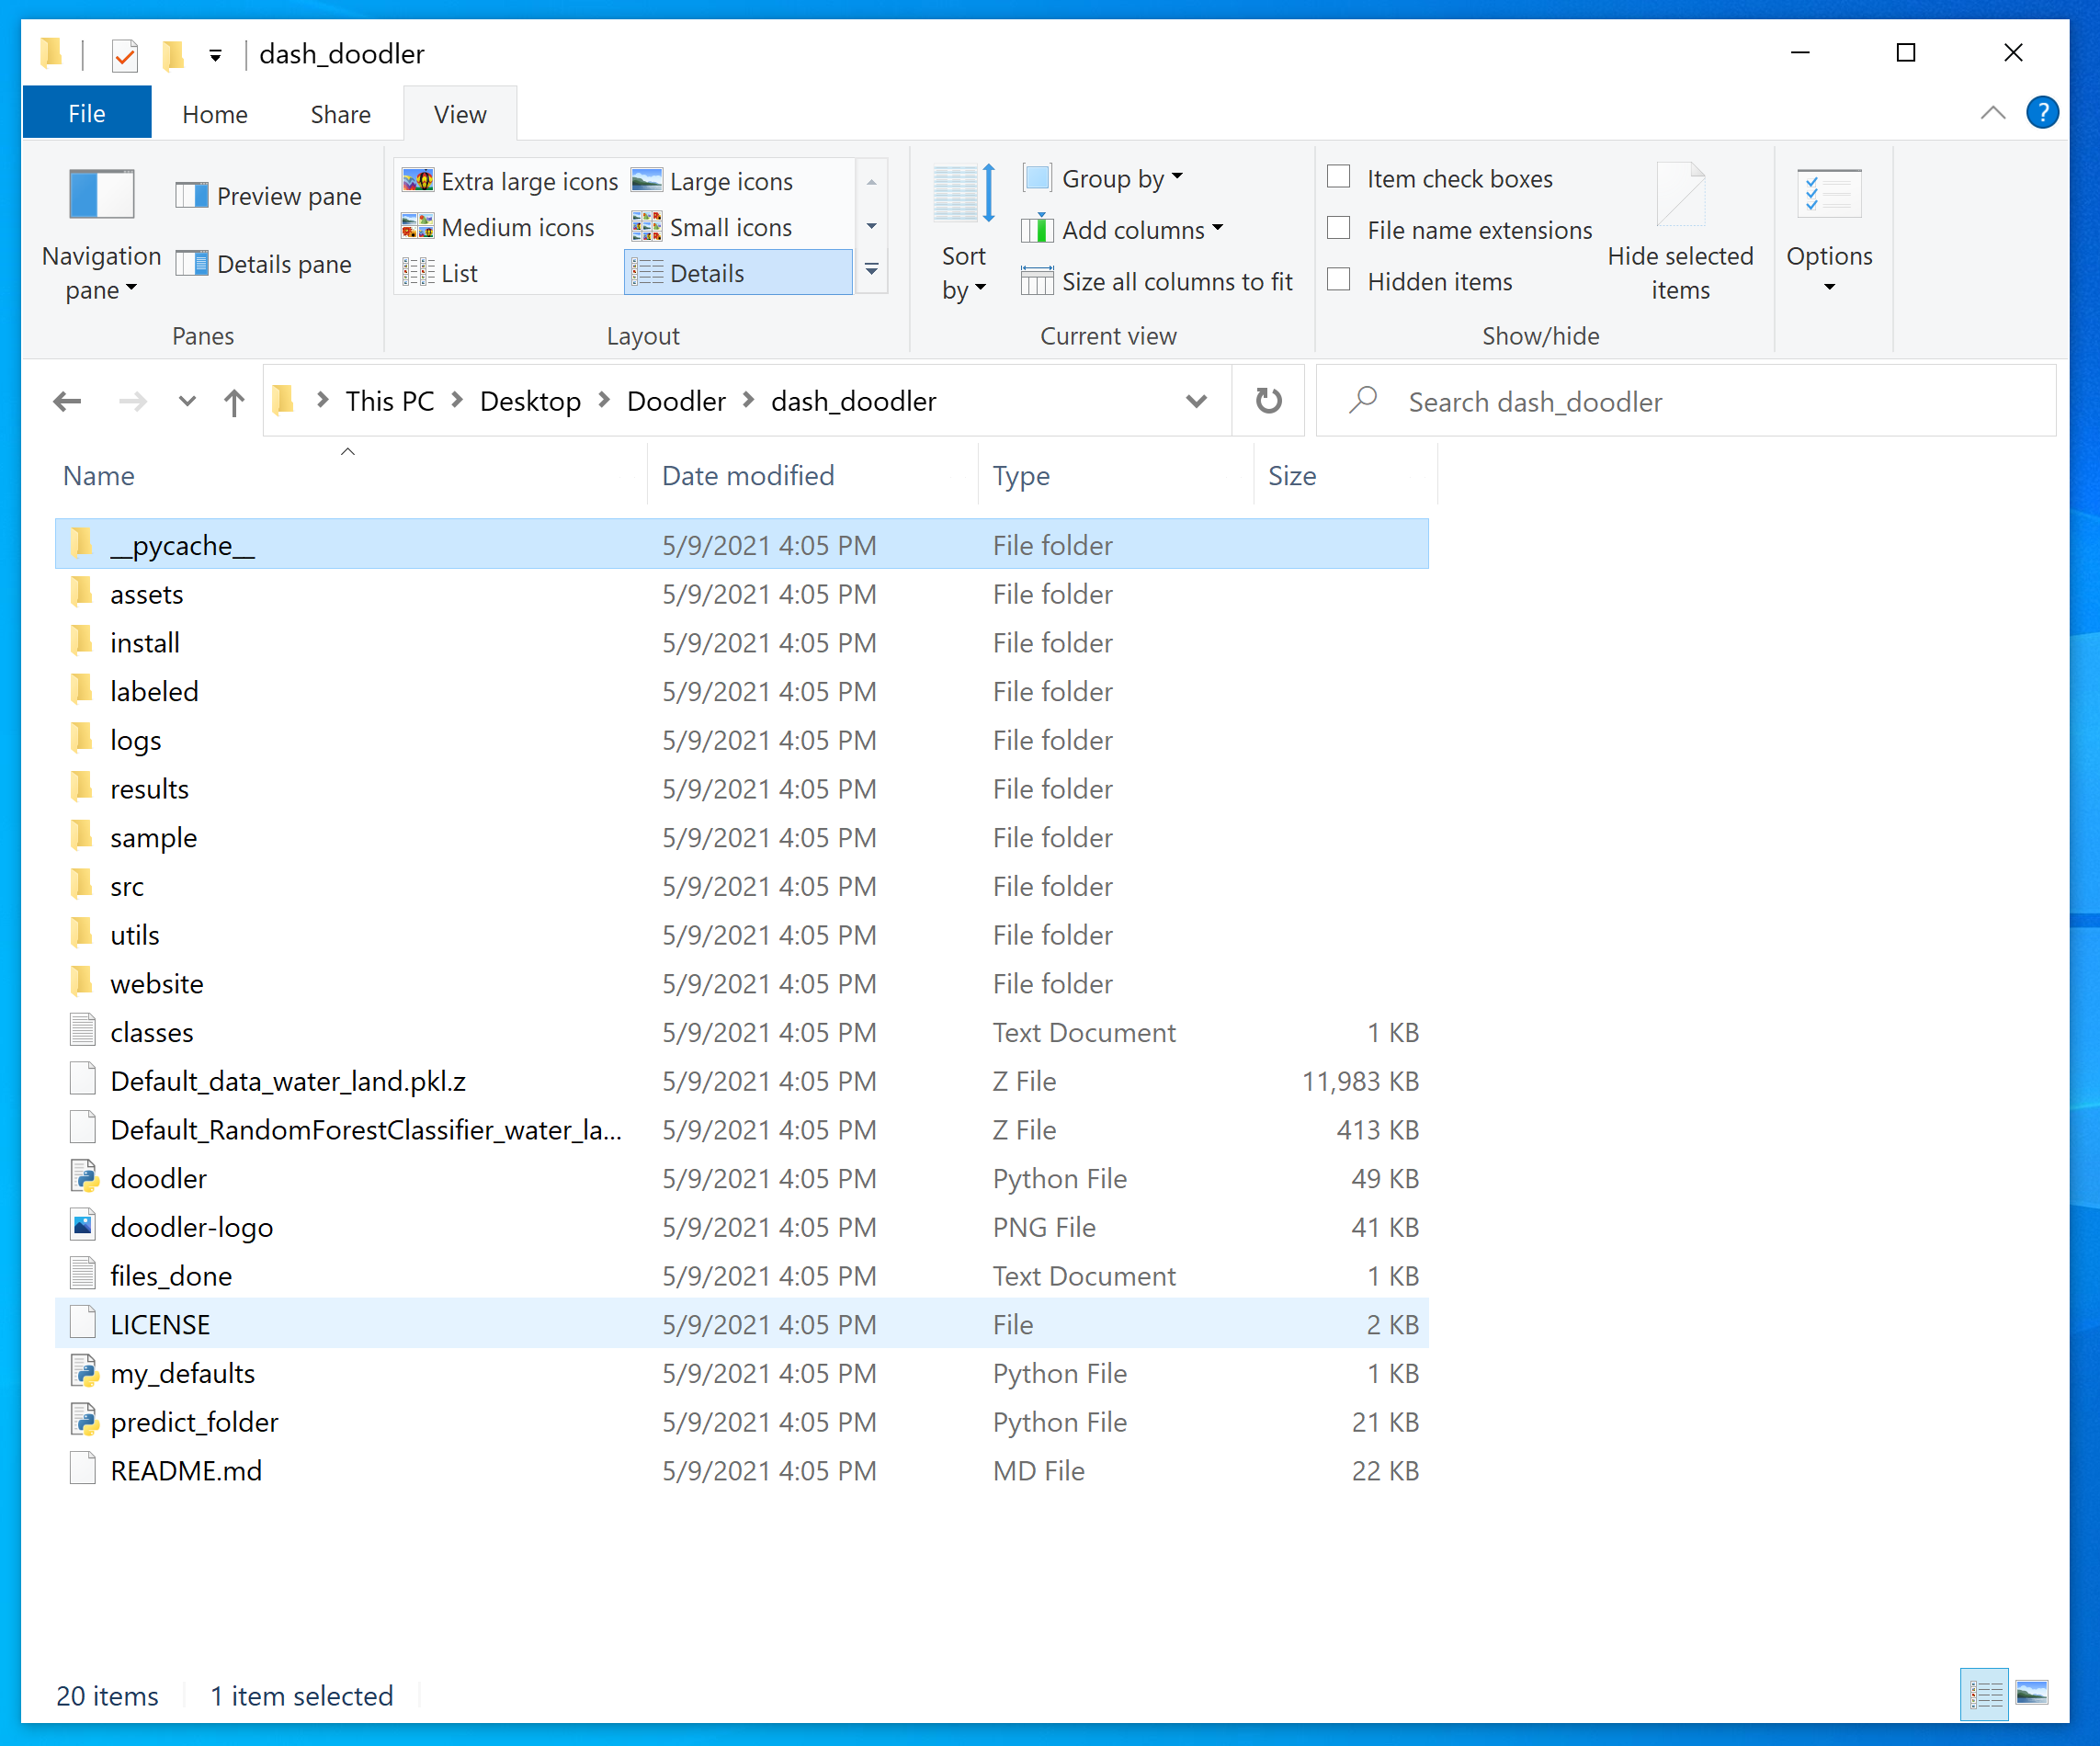
The Doodler files and file structure#
It's important you know what the various files do. It's also important to stress that all these files are arranged in folders whose precise relative location matters, so please no moving or deleting of files - it will cause you problems
Assets folder#
This is the assets folder where you should put the images you want to label. The program comes with a set of default files that can optionally download by running the download_data.py script that look like this:
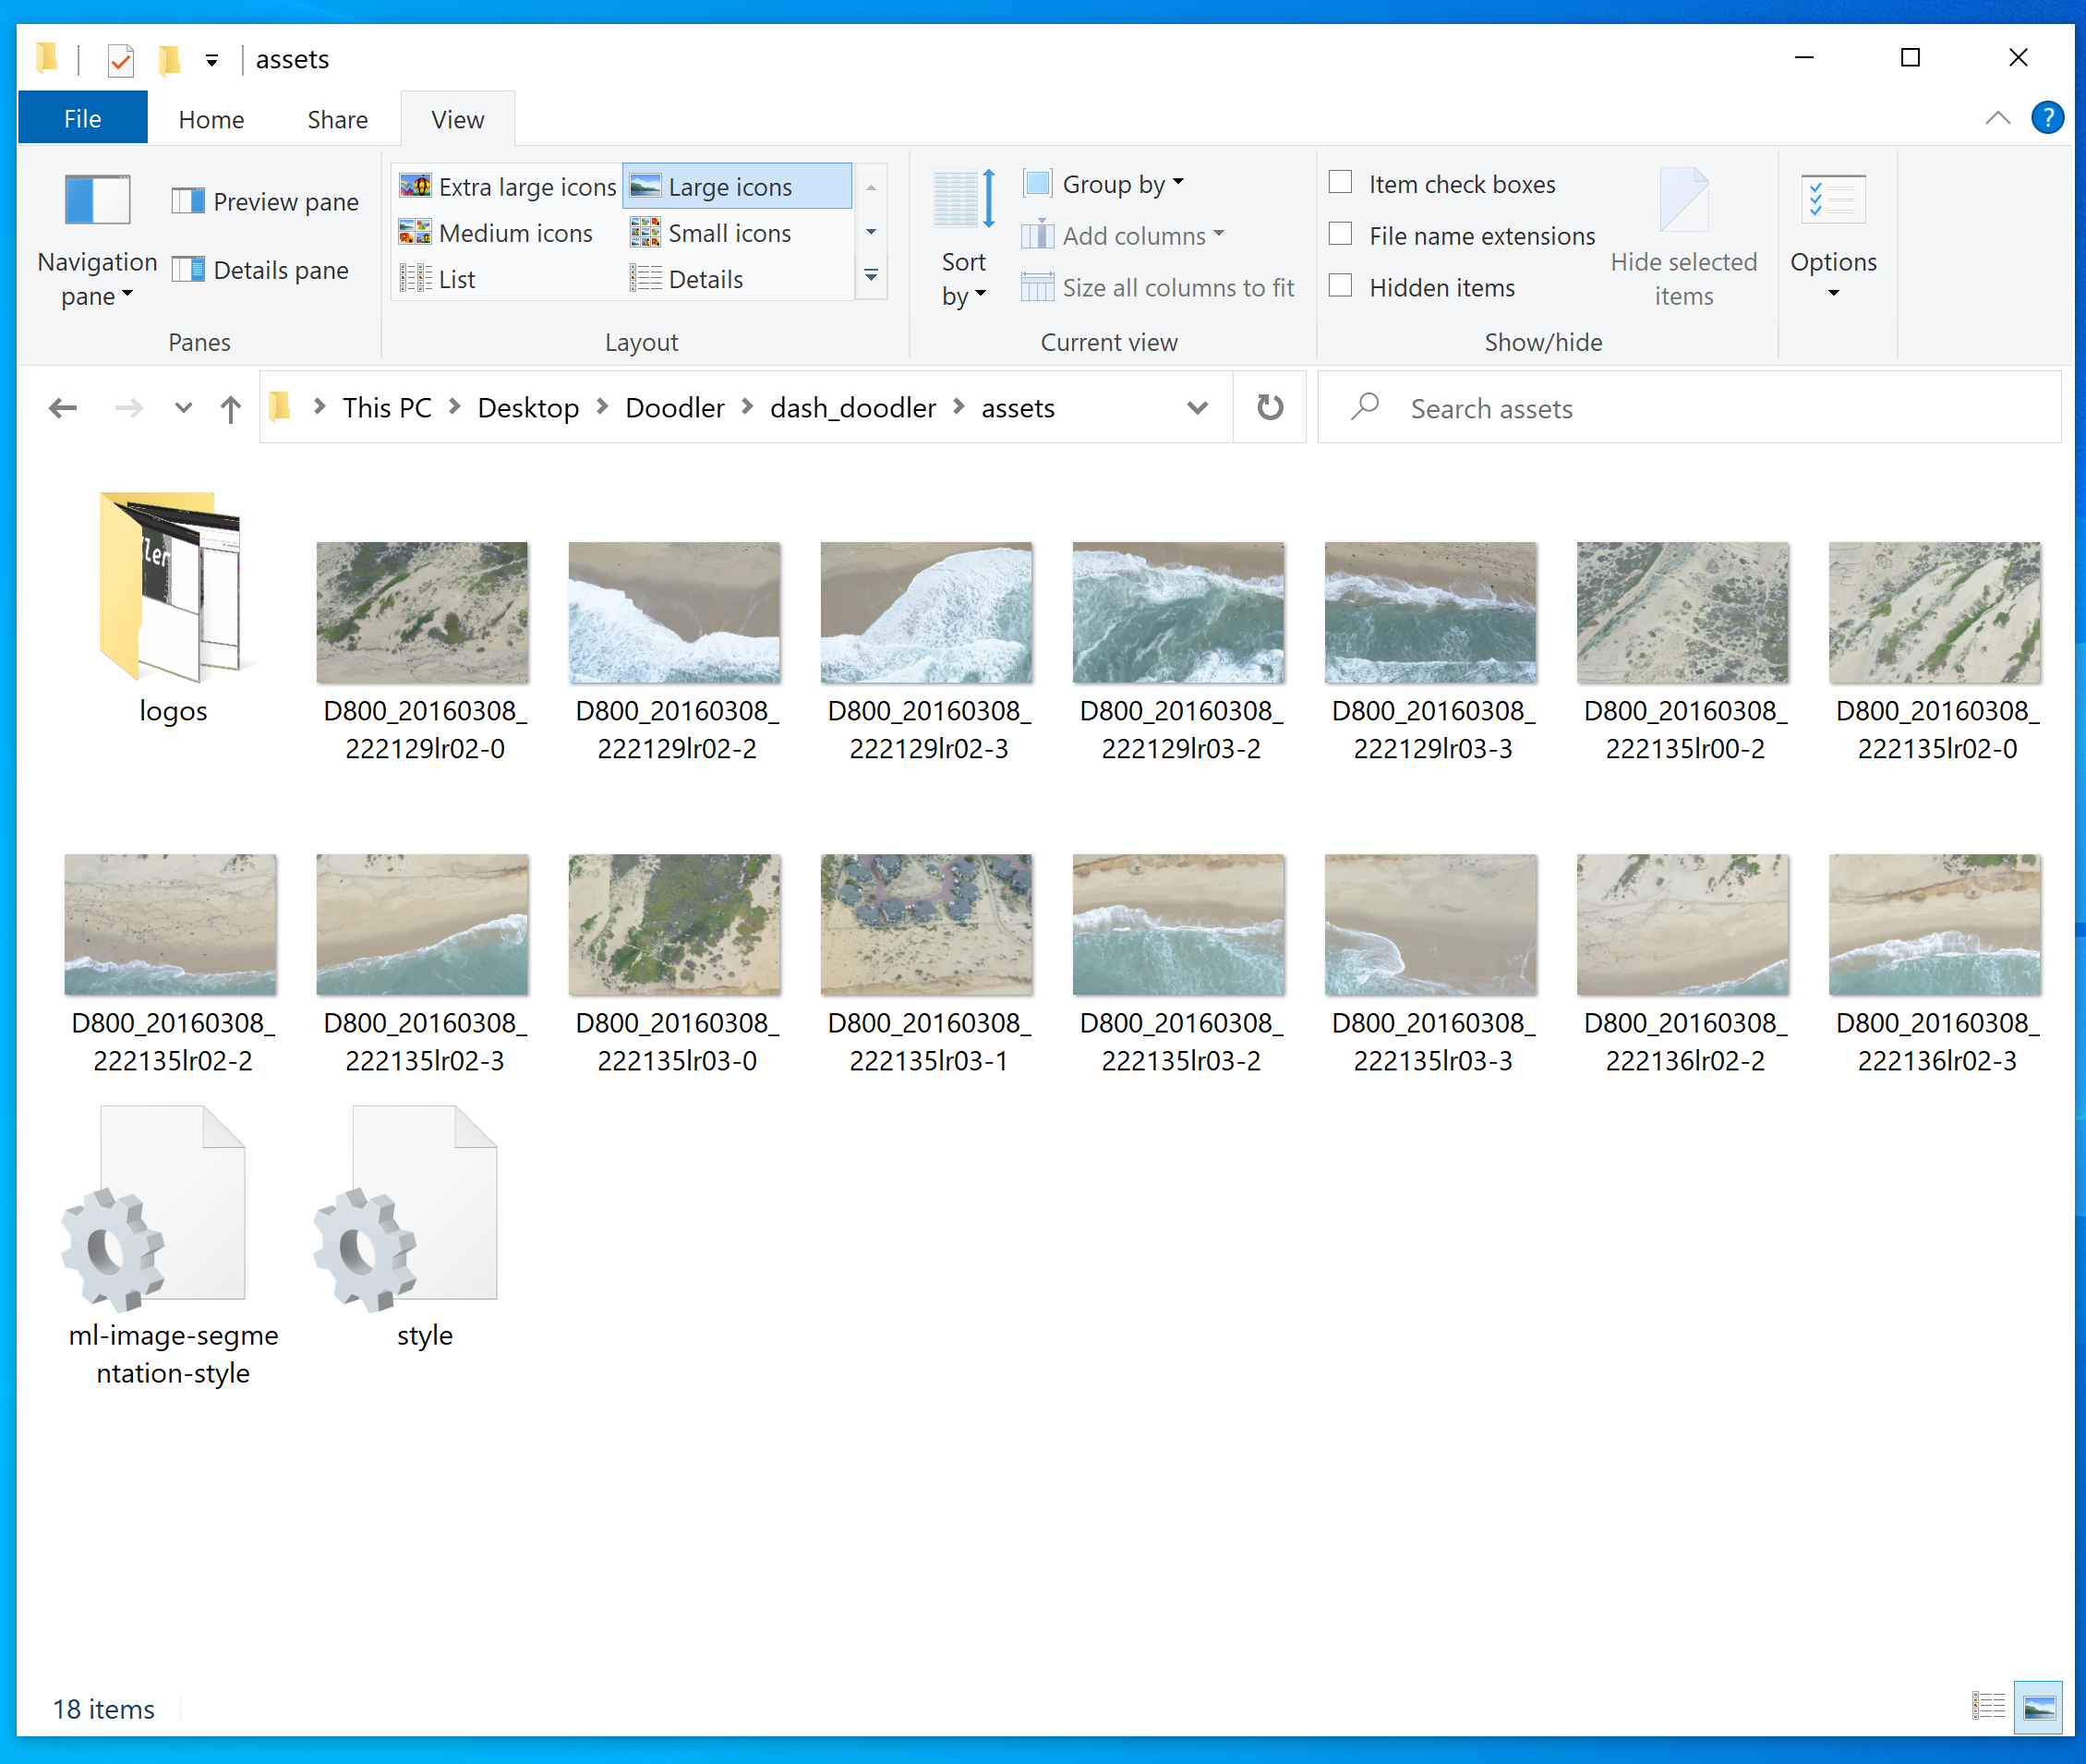
... before you start labeling your images you should move or delete these default images.
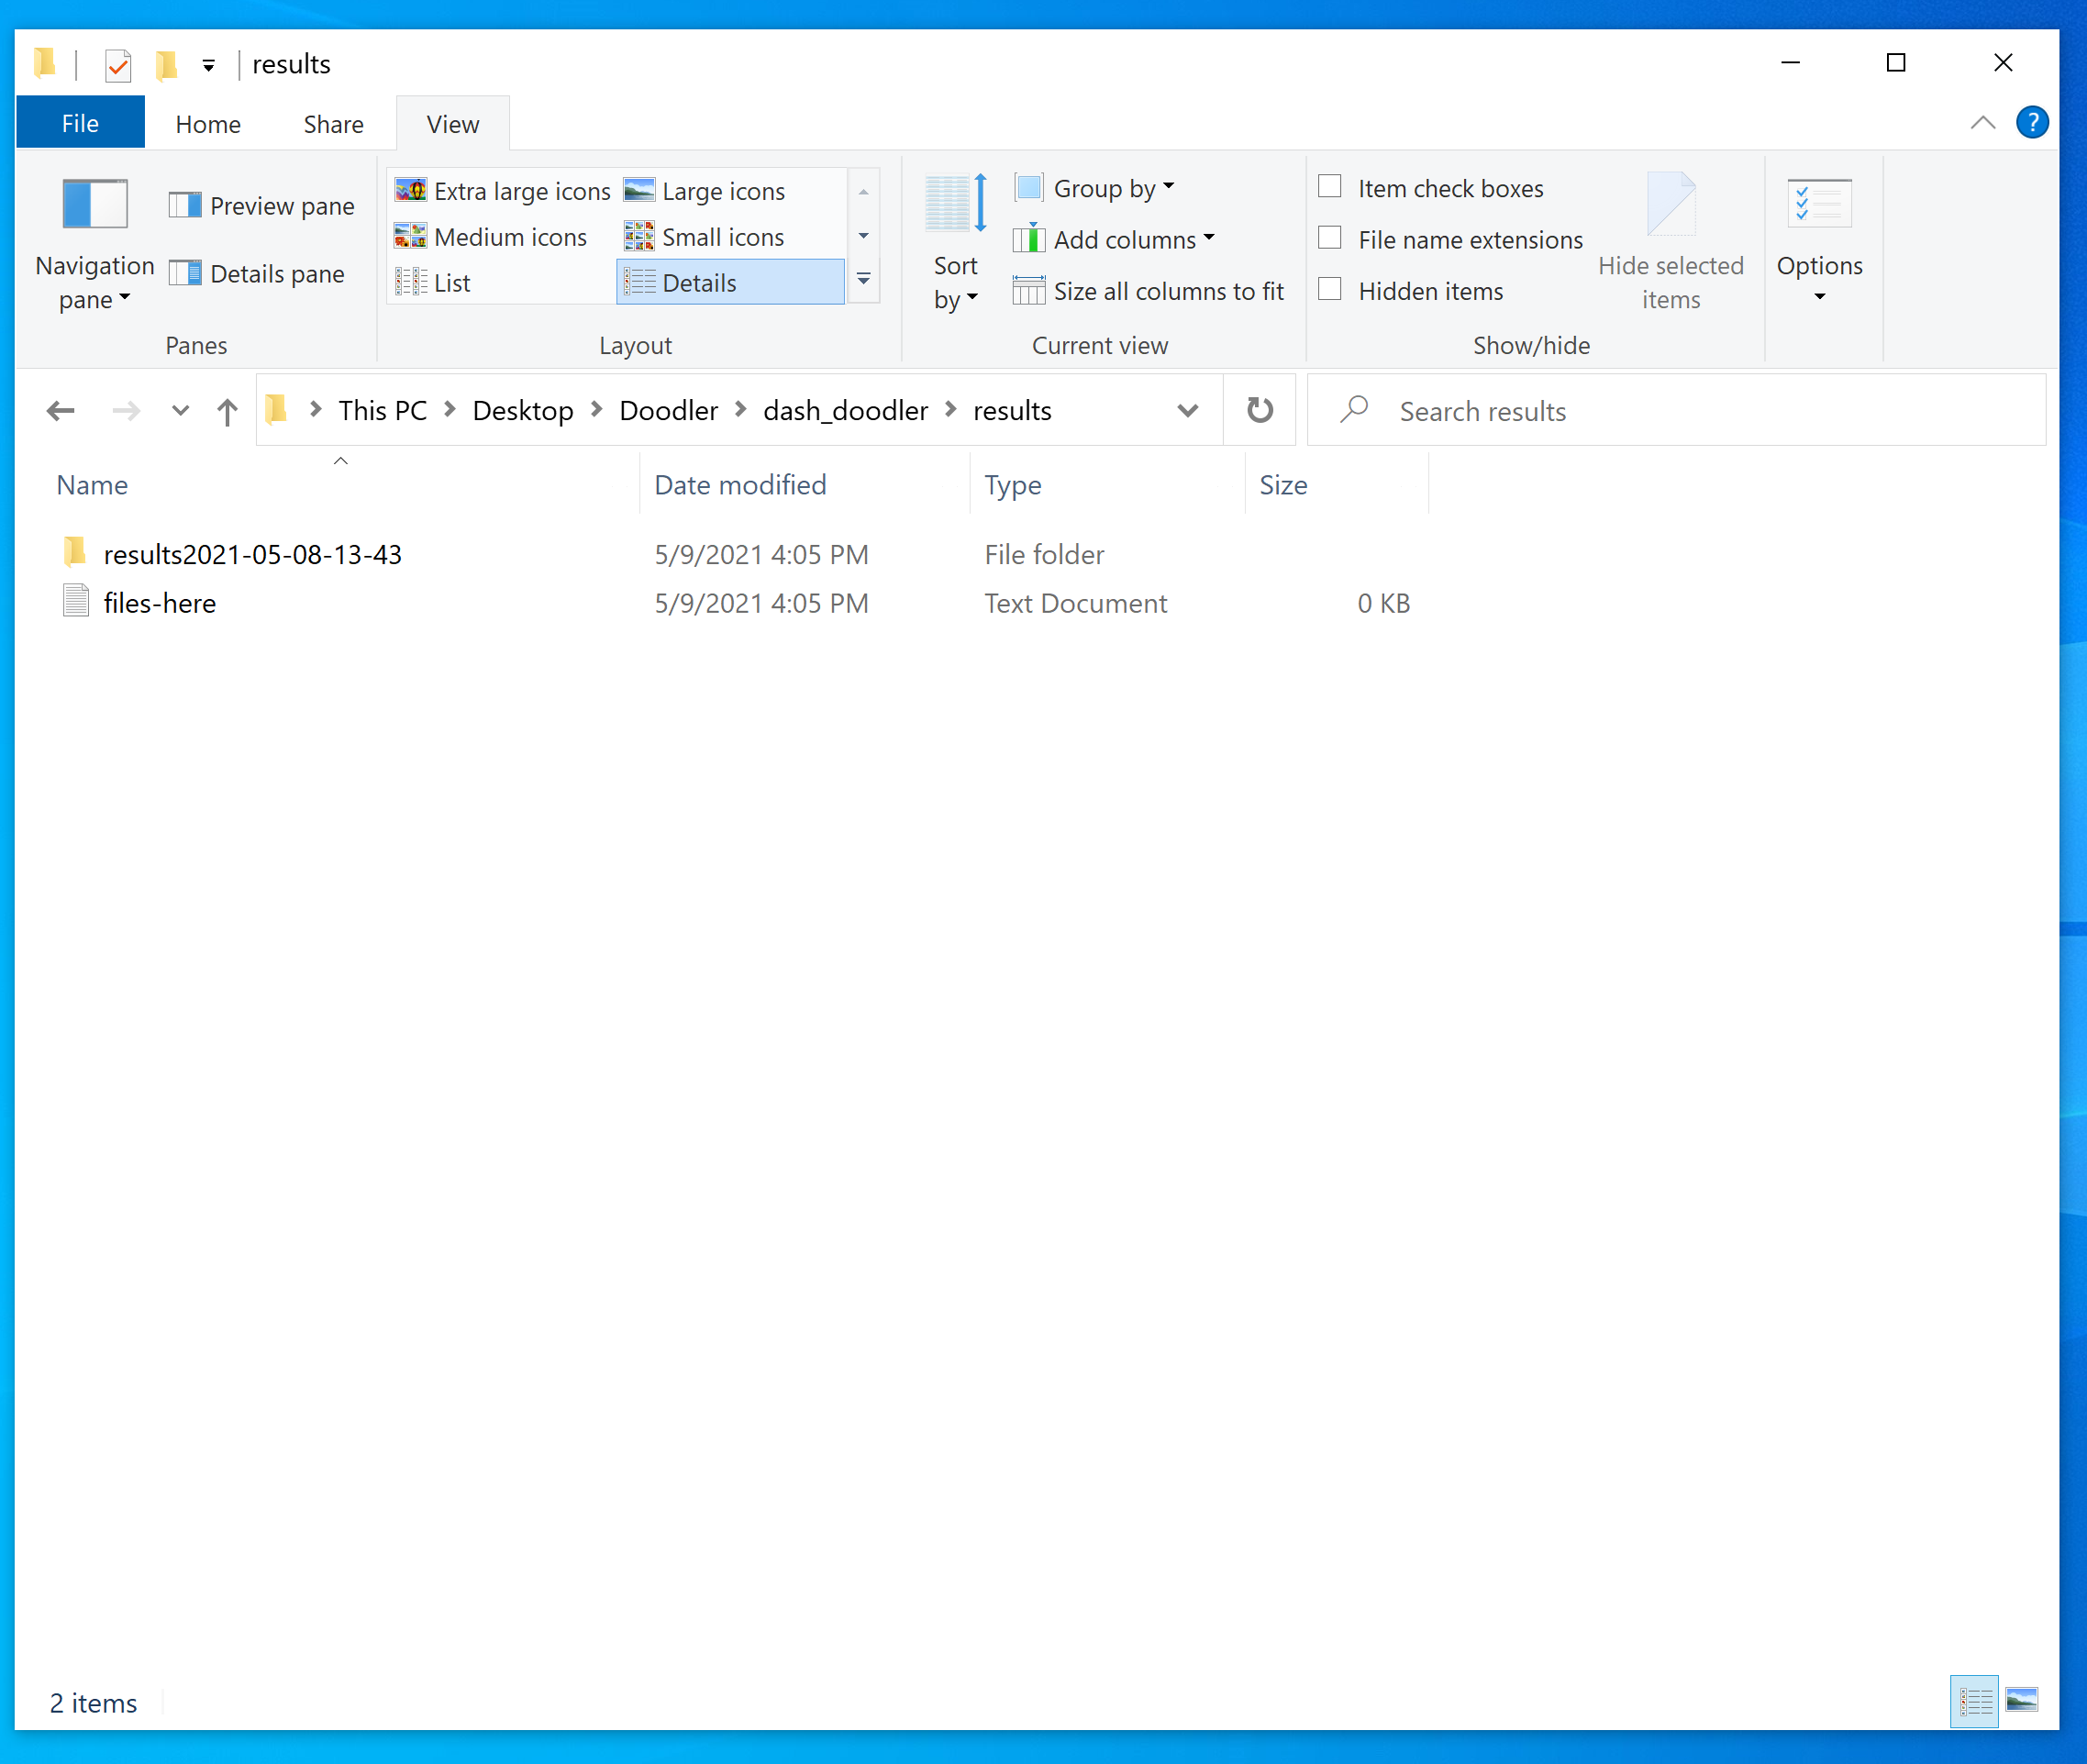
Results folder#
This is the results folder. When you start "doodling", the program will automatically create a new timestamped folder like this containing your results
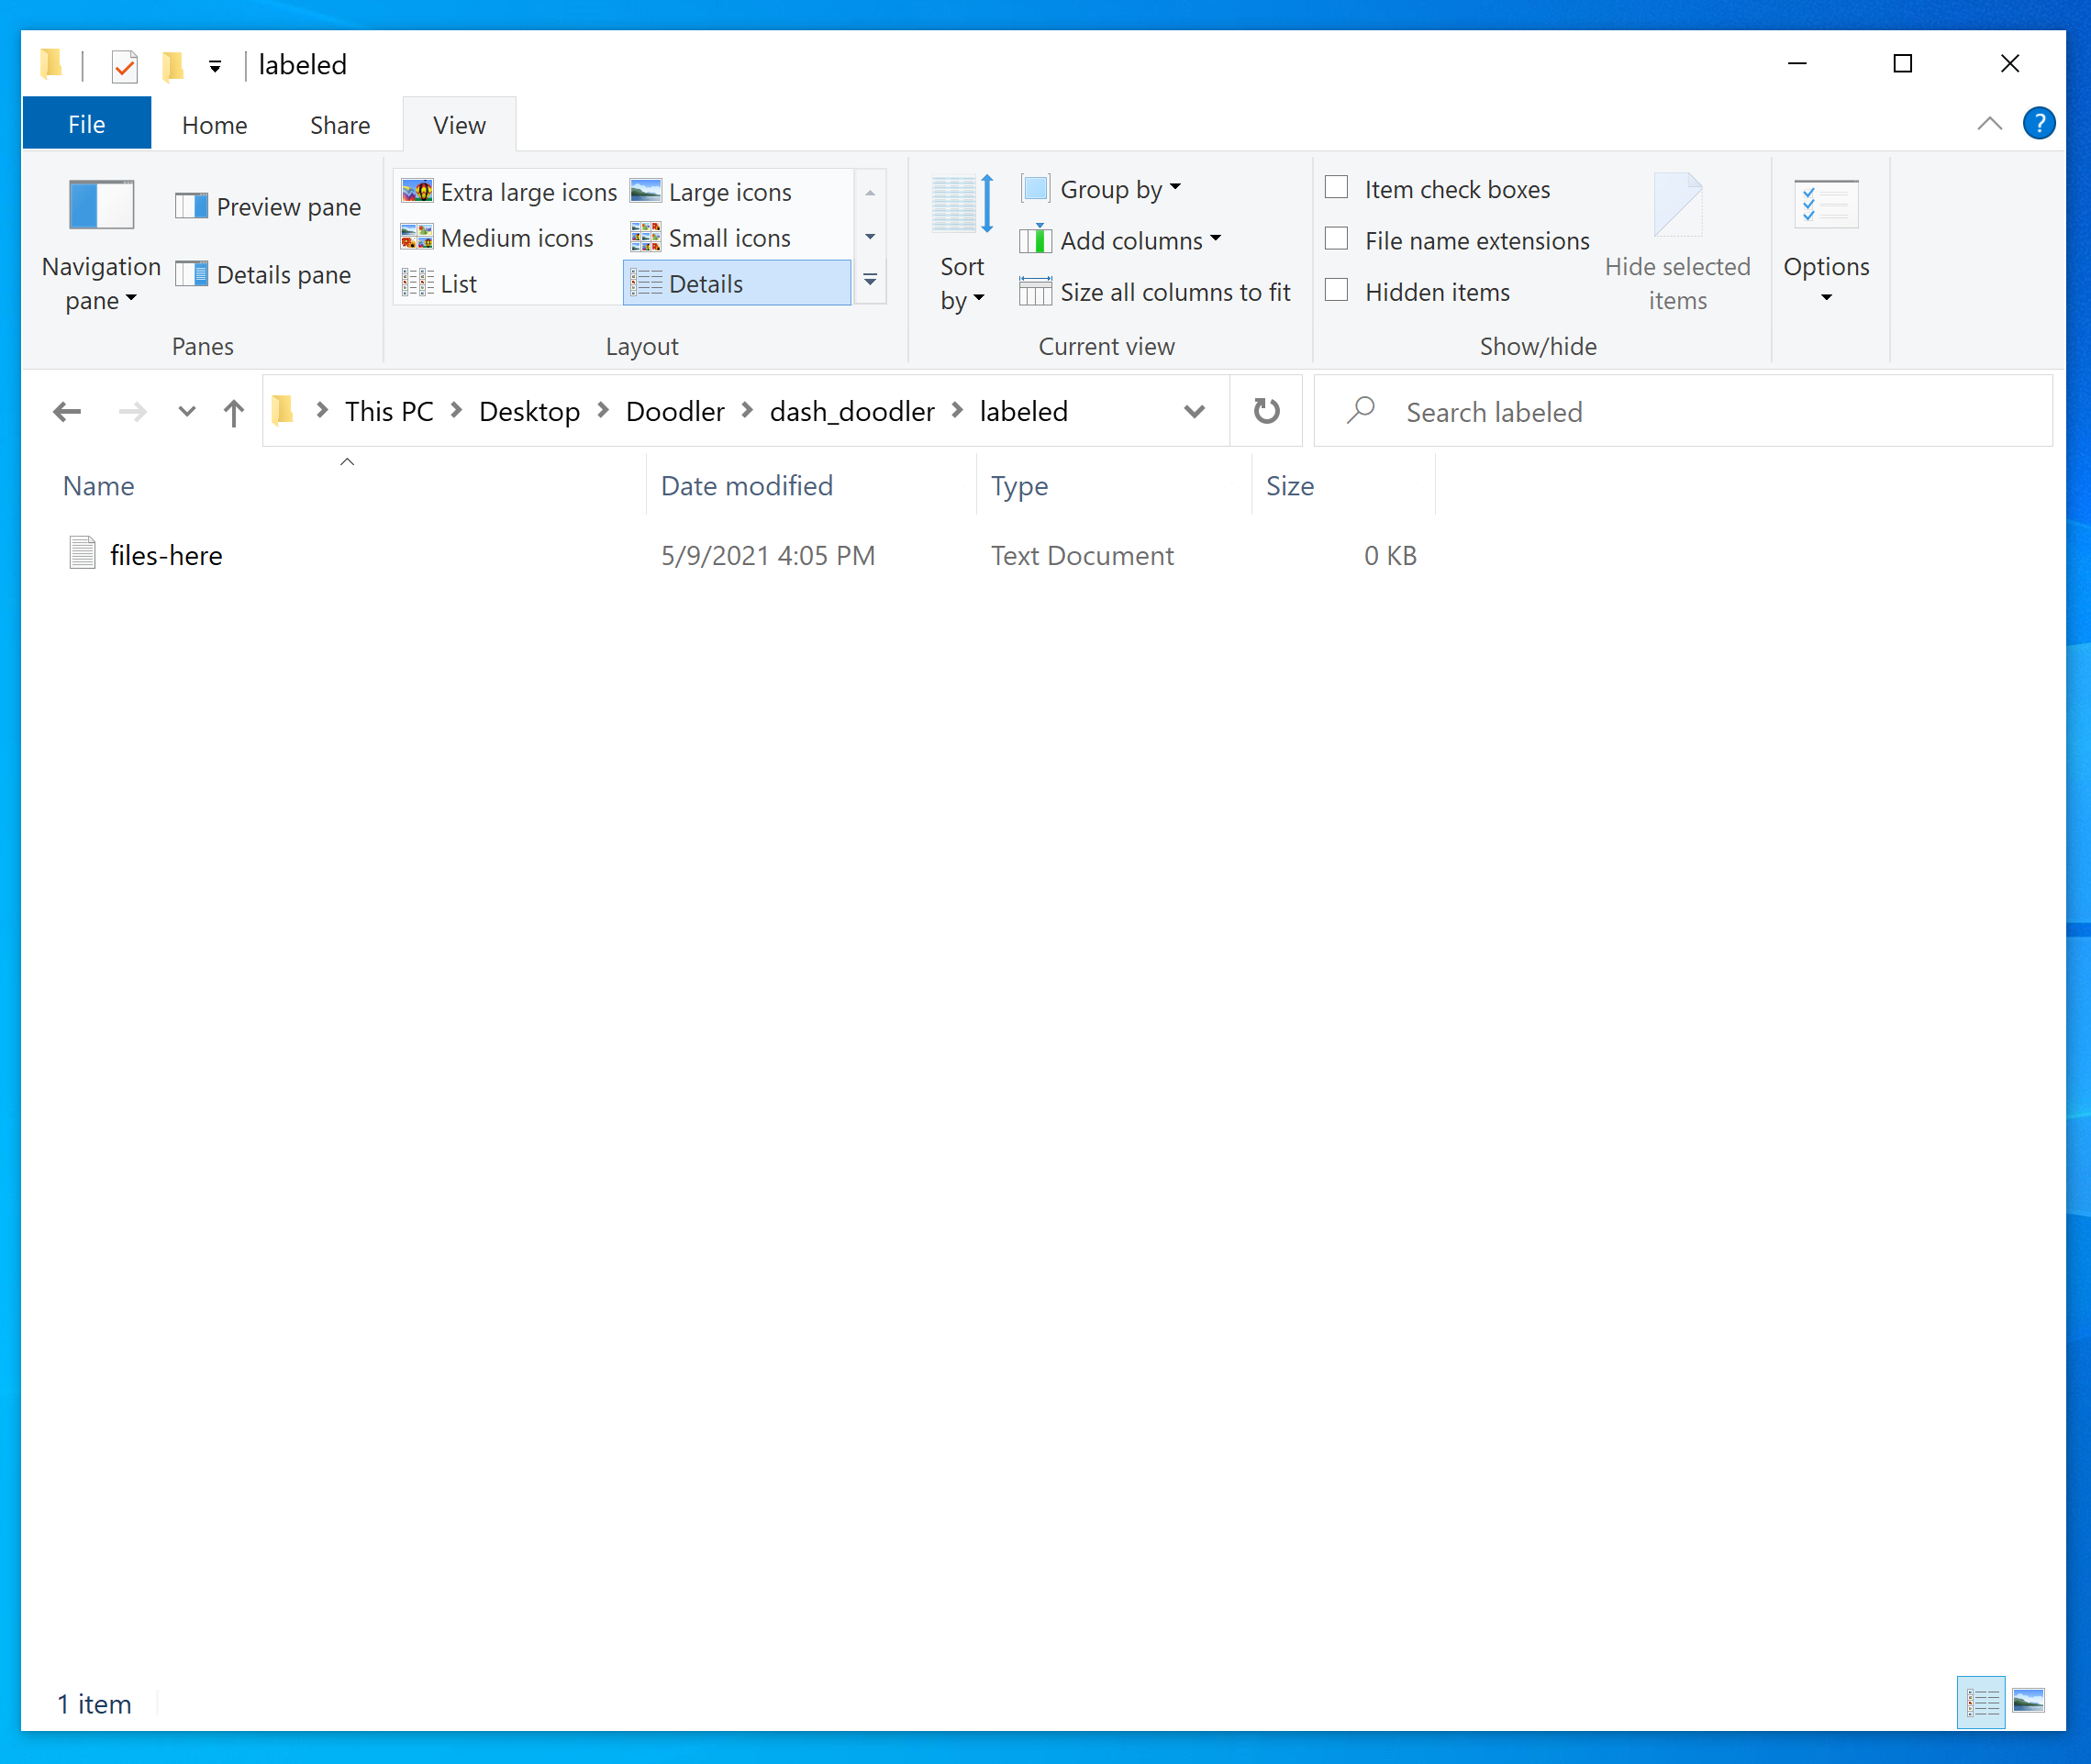
Labeled folder#
This is the 'labeled' folder, where the program copies the images you have labeled to. It does this so it can keep track of which images you have labeled and which remain in the assets folder. It's also sometimes useful for you to see what and how many images you have labeled during a session.
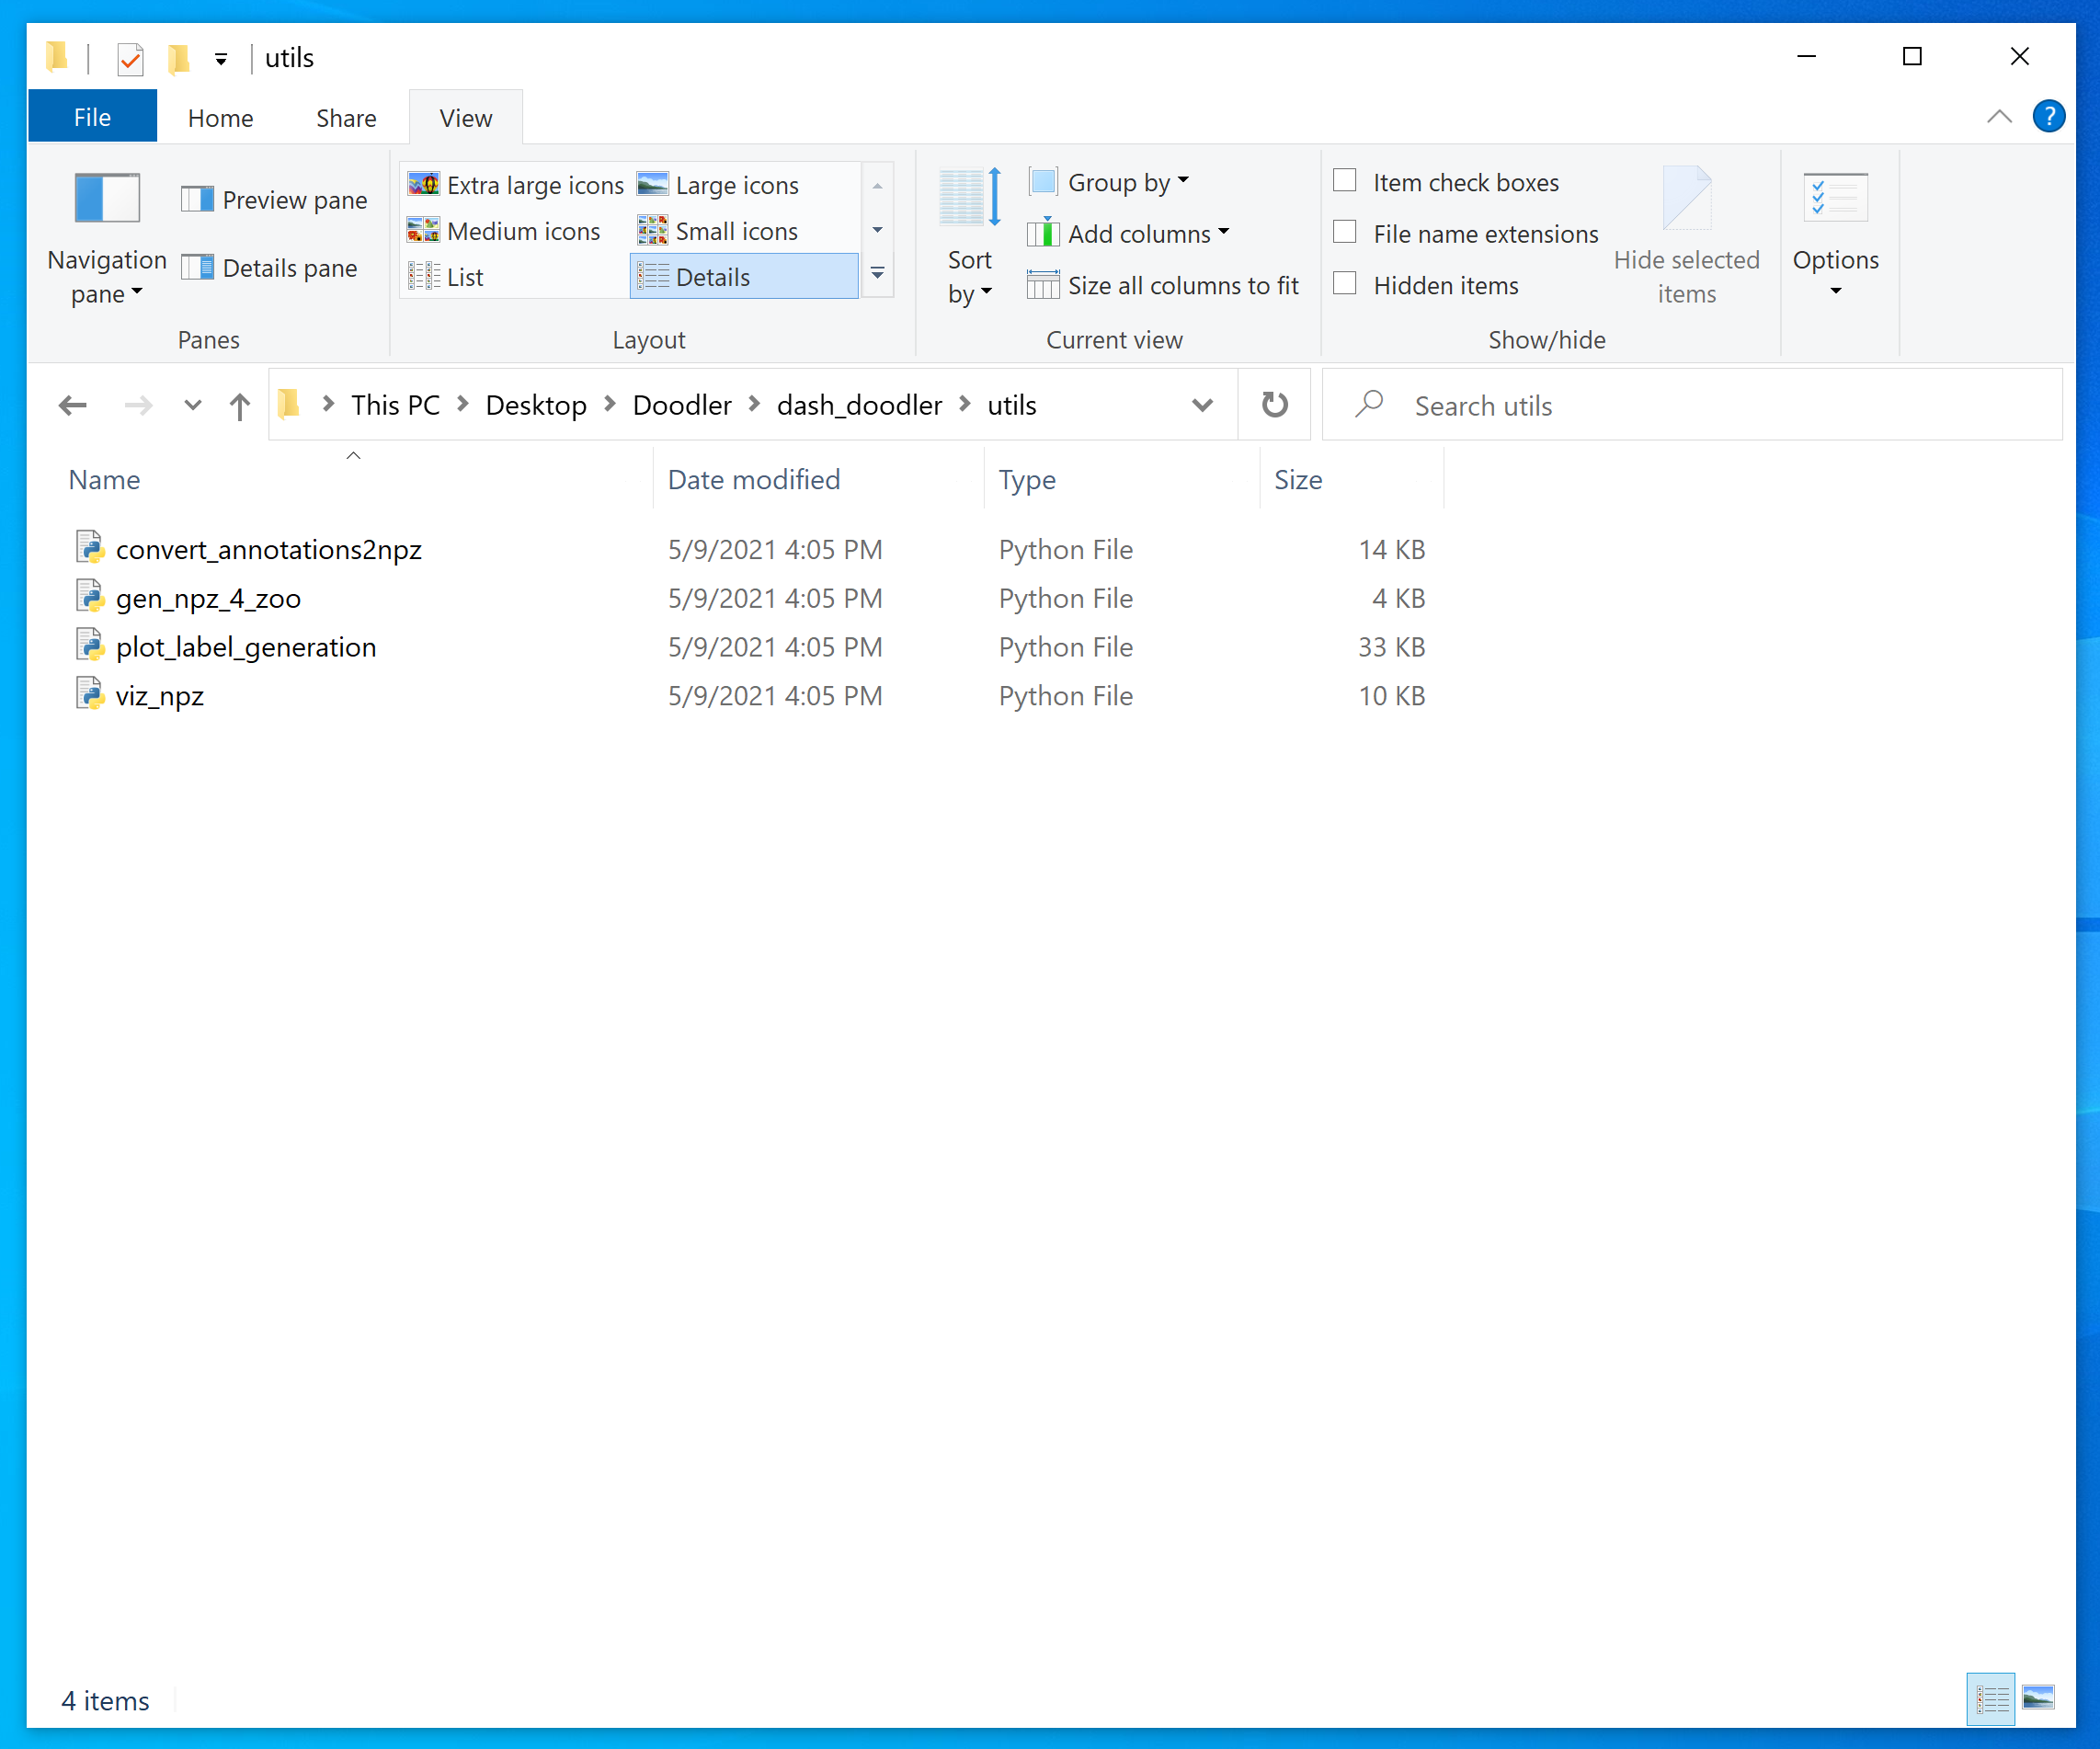
Utils folder#
Finally, these python scripts are run from the command line, and are a handy collection of things once you have some data, so we'll talk about them later